
Film grain. Feel the photograph.
Add a texture you can feel without losing the photograph underneath. Shape the amount, size, roughness and colour of film grain.
Open editorFree
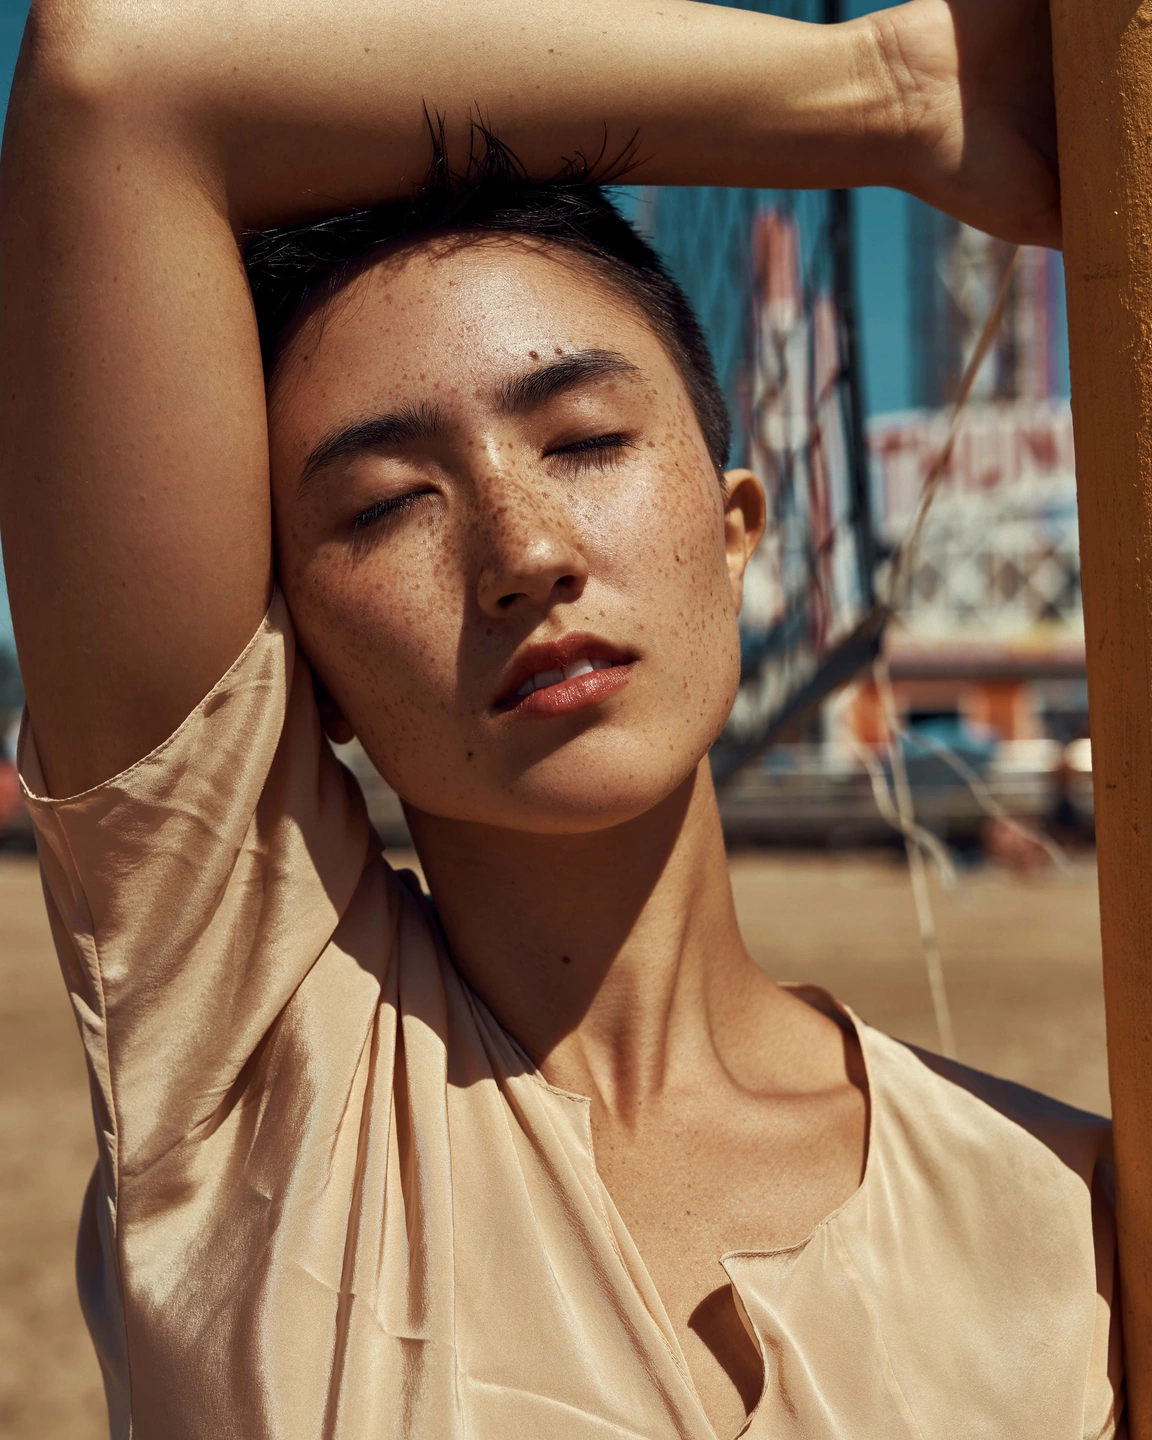
Texture changes how a photograph feels at close range.
Grain gives smooth areas a visible surface and lets fine detail sit within a shared texture. It can make a digital photograph feel less polished, more tactile or more closely connected to a print-inspired treatment. The interesting part is the scale: barely visible texture and bold coarse grain create very different experiences.
Photonica separates amount, size, roughness and colour. That lets you find the texture you want instead of treating grain as one fixed overlay. A restrained amount with a larger grain size is different from a dense fine texture, even when both appear similarly subtle in a small preview.
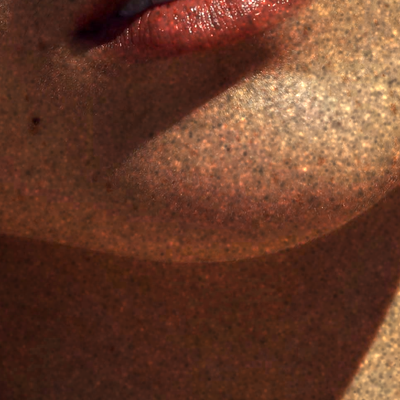
Always inspect grain at a useful scale. A full portrait shrunk to fit a phone hides much of its surface. A matched detail crop makes the added texture visible, while the whole photograph tells you whether it supports the subject. You need both views to make a good decision.
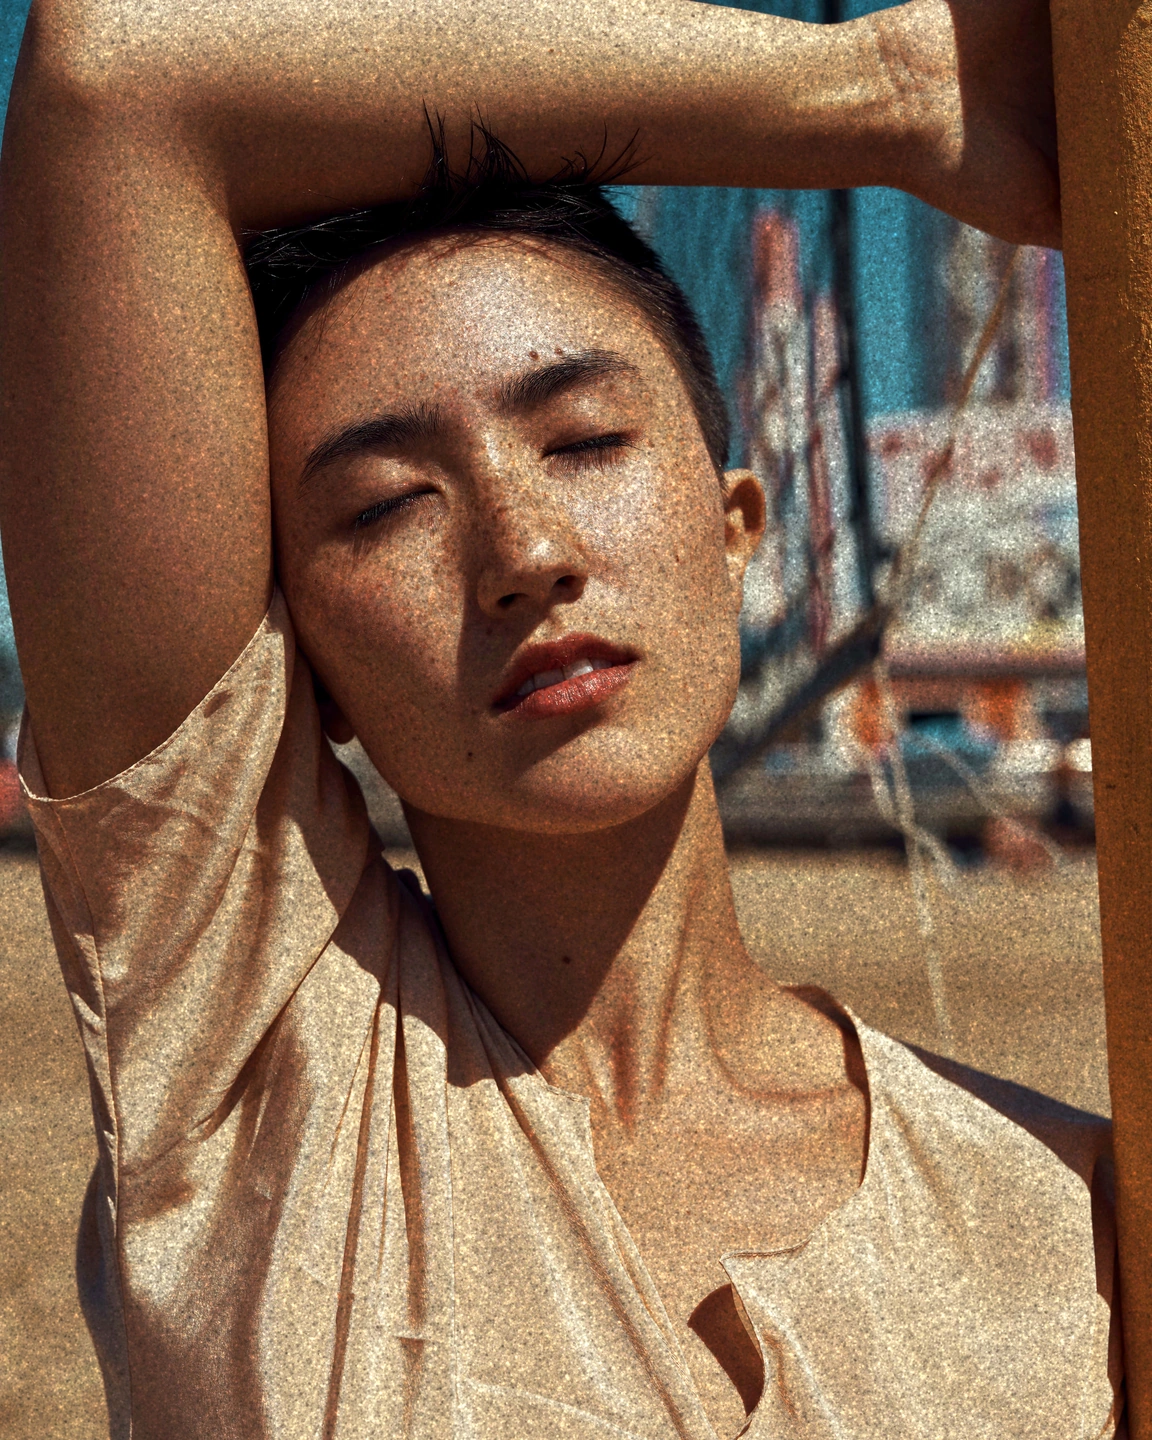
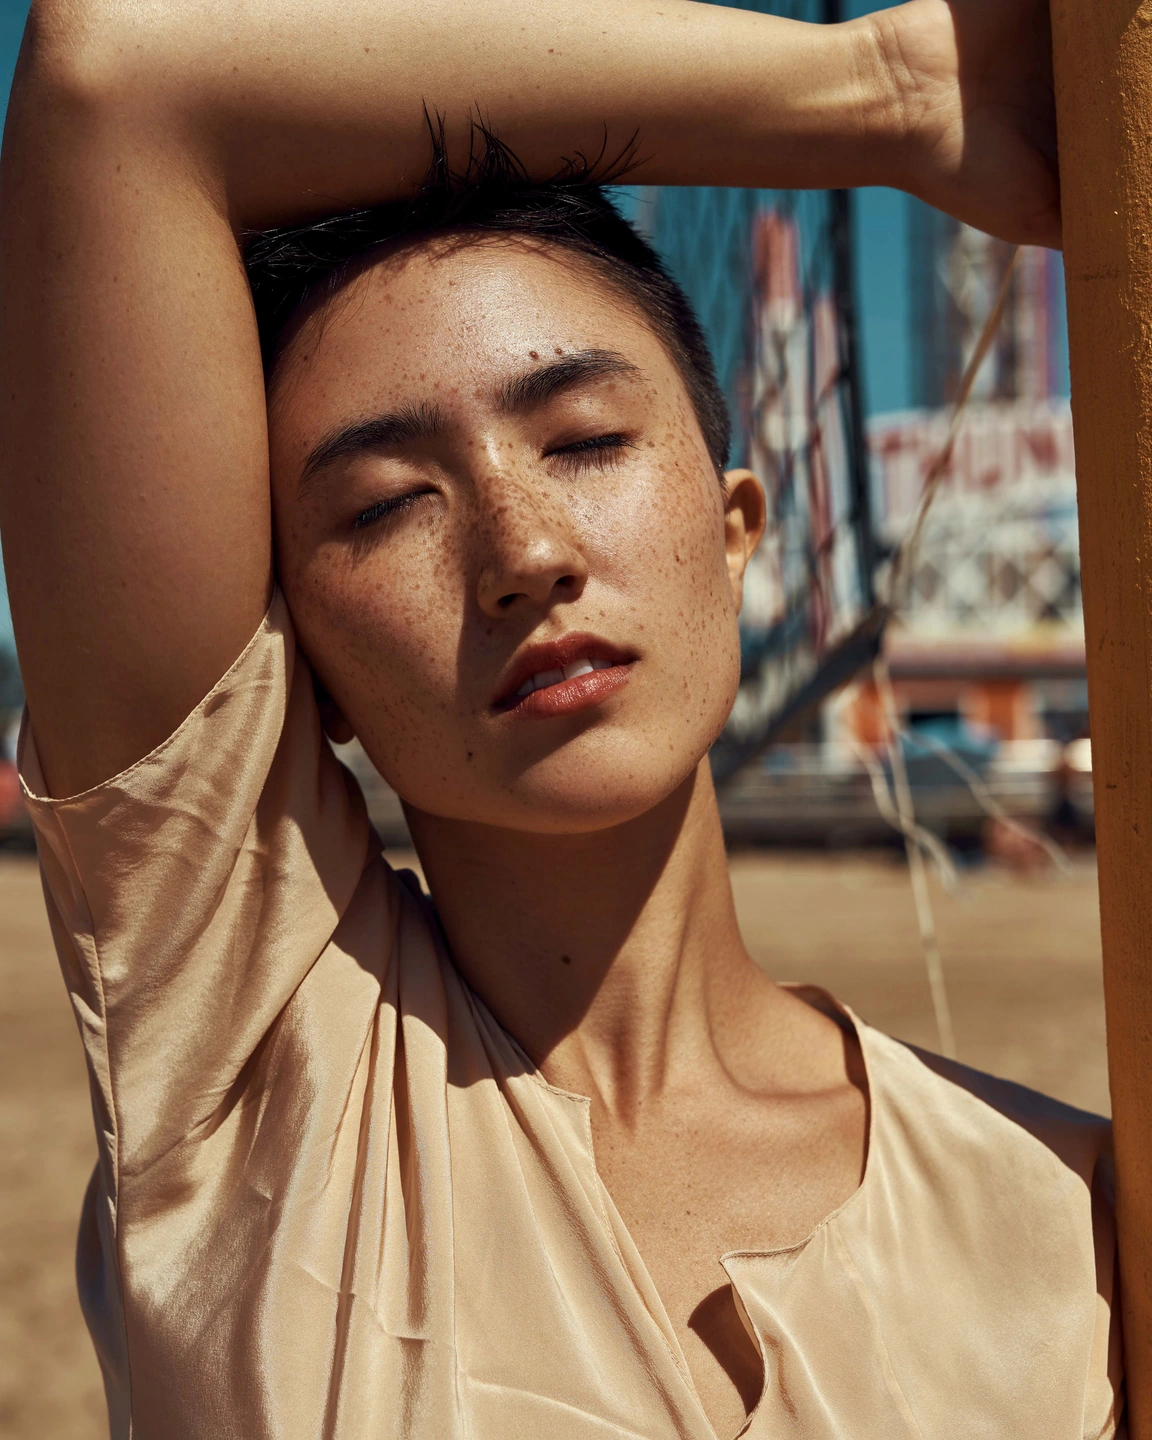
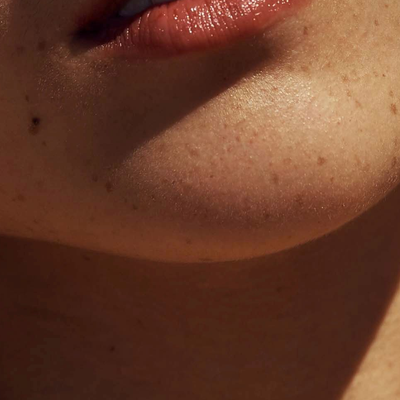
Grain off / coarse grain at amount 100 and size 4. The stronger setting is a teaching example; the hero above uses fine grain.
Compare the same skin, light and background.
Look at the smooth background and lit skin as well as the freckles. The source already contains real facial detail; the comparison shows the texture added around and across it. This deliberately coarse example makes the difference easy to inspect. Keep the scale fixed when judging grain.
Move the divider to compare. Before on the left, after on the right. Zoom in to look closer.
Made with Photonica. Source photographs retain their photographer’s original treatment. Film and optical effects are creative interpretations.
When to use film grain.
A starting point for your photograph. Let the subject and the light guide the final choice.
A clean digital image that feels too polished
Fine grain can give smooth surfaces a subtle texture. Add enough to notice at close range, then return to the whole frame to avoid letting texture become the subject by accident.
Black-and-white portraits
A monochrome image gives grain room to work through brightness rather than colour. Balance its roughness against eyes, hair and the quality of the light on the face.
A deliberately rough editorial mood
Coarser grain can suit a bold crop or a dense tonal treatment. Keep the image’s important shapes clear, especially when the final result will be viewed on a small screen.
Find your balance.
- Amount
- Choose how visible the grain becomes. Existing noise or texture in the source also contributes to the final impression.
- Size
- Set the scale of the grain. Compare at 100% so you can judge the structure instead of only its effect on the overall image.
- Roughness
- Refine the character of the texture. Judge smooth surfaces and detailed areas together rather than using skin alone as a reference.
- Colour
- Control the colour contribution of the grain. Check neutral surfaces and shadows for a balance that fits your treatment.
How to use film grain in Photonica.
Finish colour and exposure
Set the broad treatment before adding texture. Changes in brightness can alter how strongly the grain reads.
Choose its scale at 100%
Inspect a quiet background and part of the subject. Adjust size and roughness, then settle the amount.
Review the exported image
Check the saved JPEG at its intended display size. Reduction and compression can change how much fine texture remains visible.
Free Compare Free and Pro.
A few things to know.
Are all four grain controls free?
Yes. Amount, size, roughness and colour are part of the free Film grain tool.
Is grain the same as dust and scratches?
No. Grain is a distributed image texture. Dust & scratches adds separate marks such as specks, fibres and scuffs and is a Pro tool.
Photography: Saul Joseph on Pexels. Edited in Photonica.
Make it your photograph.
Bring a photograph and see where it takes you. Your photo stays on your device.
Open editorUse a WebGPU-compatible browser. Free JPEG export uses a working image up to 2560 px on its longest side before cropping.
Explore all photo editing tools