
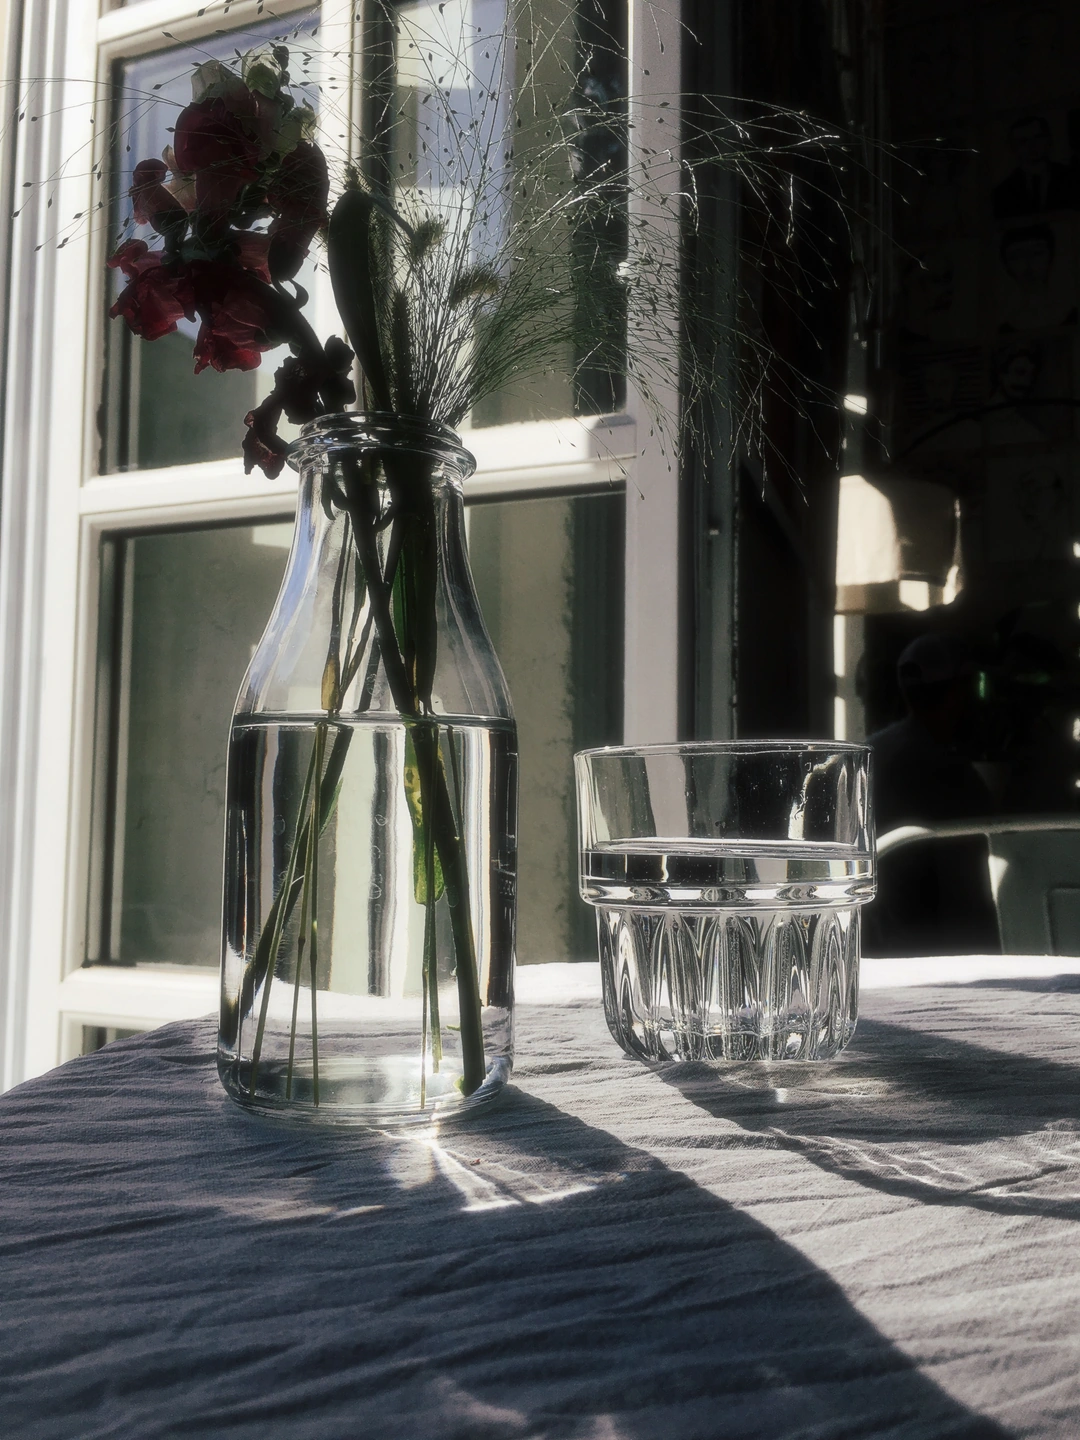
Try another character.
A different diffusion character changes the balance of softness and light spread. Compare the same bright edges rather than assuming one family is always right for a subject.
Give highlights room to breathe. Diffusion softens the impression of a photograph through scattered light and a gentler contrast.
Open editorCinebloom Free · four characters and fine controls Pro
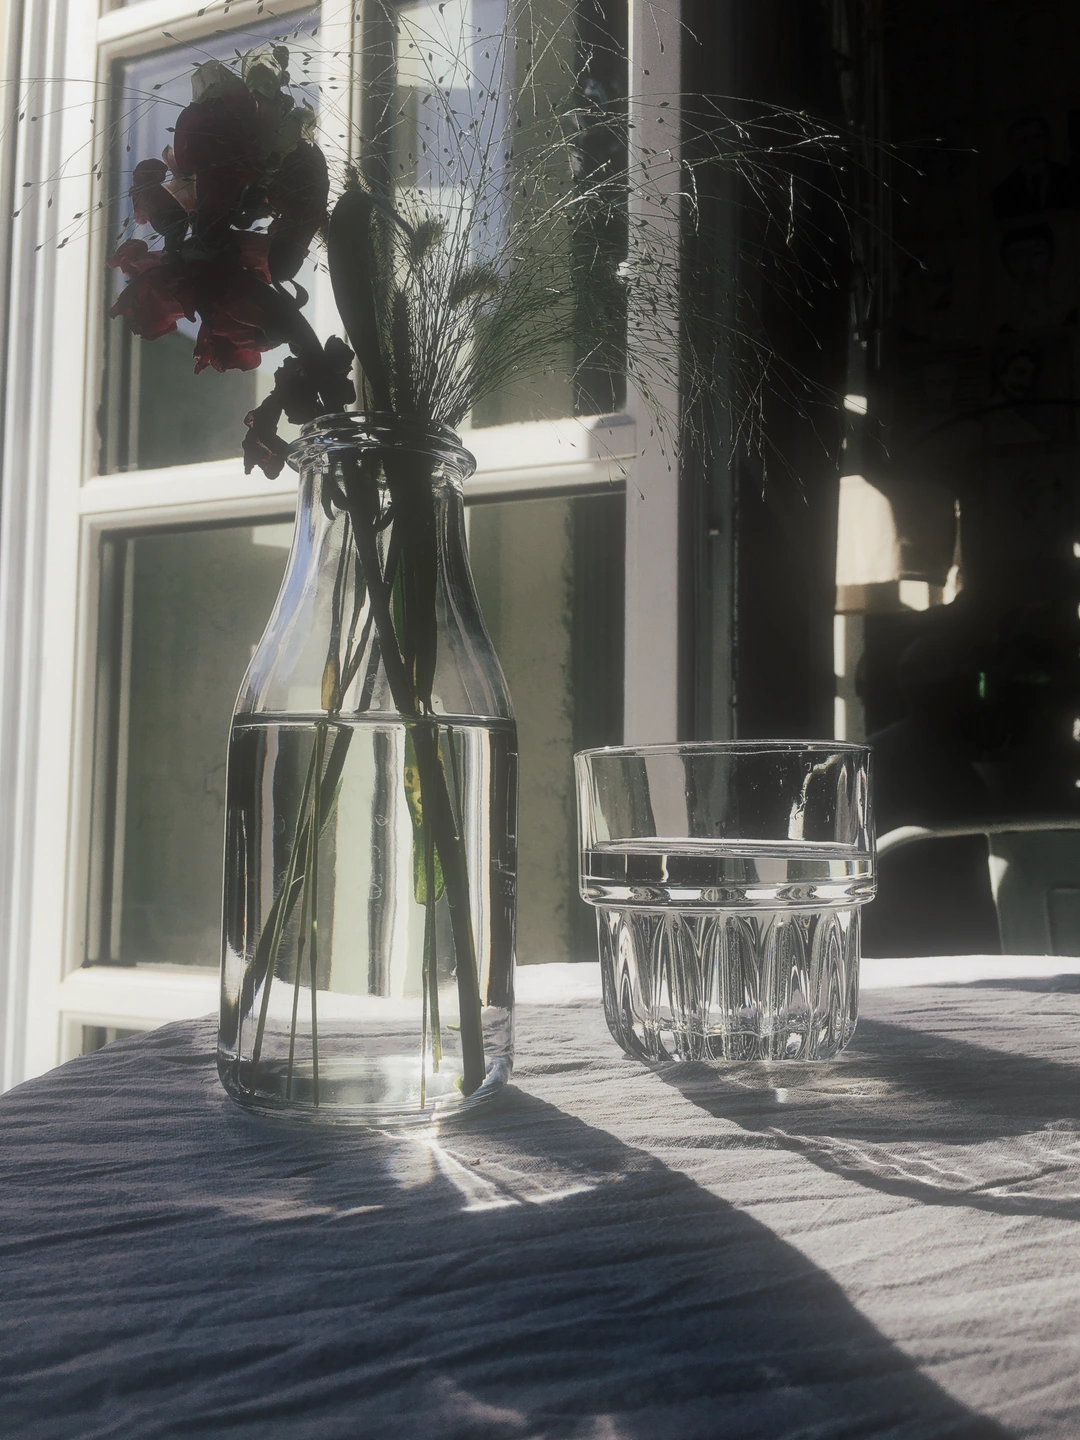
Diffusion gives bright areas a presence beyond their sharp edges. A window, a reflection or a lamp can feel less clinical and more atmospheric as light appears to scatter into its surroundings. The effect is especially rewarding when the source already contains a clear relationship between bright and dark areas.
This is a different decision from simply reducing fine detail. Film softness eases the crispness of the image; diffusion also changes the impression of the light. On a strong source it can feel luminous. On a flatly lit source, too much can make the image look veiled without adding a useful focal point.
Photonica includes a complete basic Cinebloom treatment with strength control for free. Pro adds Glimmerglass, Black Pro-Mist and Pro-Mist alongside Cinebloom, plus controls for softness, halo, bloom, their sizes and warmth. These are creative diffusion characters, not a promise that a digital effect will exactly reproduce a particular optical filter.
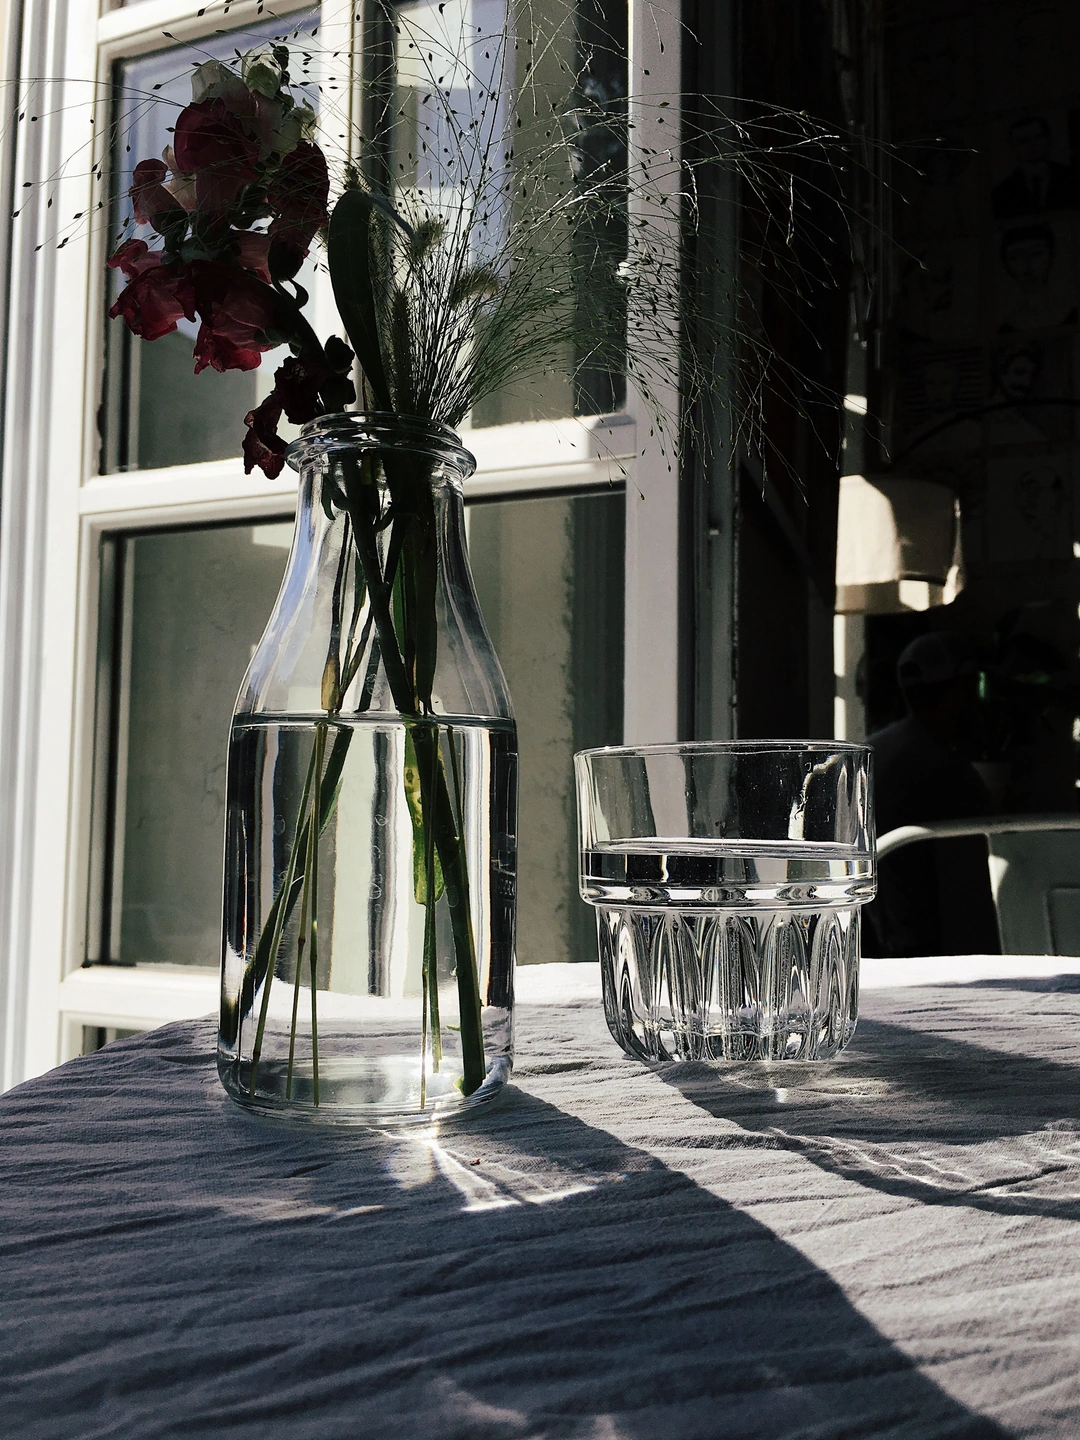
Diffusion off / Cinebloom. Halation is off in this comparison.
The brightest edges and the pale cloth make this still life a clear starting point. Compare the source and Cinebloom treatment, then look at how much definition remains in the glass. The dark flowers give the brightness somewhere to settle against.
Move the divider to compare. Before on the left, after on the right. Zoom in to look closer.
Made with Photonica. Source photographs retain their photographer’s original treatment. Film and optical effects are creative interpretations.
A different diffusion character changes the balance of softness and light spread. Compare the same bright edges rather than assuming one family is always right for a subject.
A starting point for your photograph. Let the subject and the light guide the final choice.
Glass, ceramics and pale fabric offer small, bright details alongside quieter areas. Start gently so reflections feel luminous while the objects retain their shape and material.
A luminous background or a bright edge can support a softer portrait. Judge the eyes and the transition across the face; the effect should not dissolve the expression that makes the photograph work.
Lamps and illuminated windows can create a strong diffusion response. Keep enough darkness between them to preserve the scene instead of turning every source into one broad wash.
Choose an image with reflections, a bright window or lamps. Start with halation and other light effects off.
Watch the bright edges and the darker areas between them. Stop when the mood changes without losing the structure you want.
Compare at Fit and inspect important features more closely. Add halation separately if you also want warm colour around bright edges.
Cinebloom Free · four characters and fine controls Pro Compare Free and Pro.
Diffusion creates a scattered-light and softness character. Halation concentrates a warm halo around bright sources and edges. They can complement each other, but are independently controlled.
No. They are digital interpretations for an existing photograph. The names describe the available characters and do not imply a partnership or an exact optical match.
Photography: Valerie de Limoges on Pexels. Edited in Photonica.
Bring a photograph and see where it takes you. Your photo stays on your device.
Open editorUse a WebGPU-compatible browser. Free JPEG export uses a working image up to 2560 px on its longest side before cropping.
Explore all photo editing tools