
Halation. Let the light linger.
Give bright lights a warm red-orange halo. Turn headlights, window light and sunlit edges into part of the feeling of your photograph.
Open editorFree to use. No account needed.
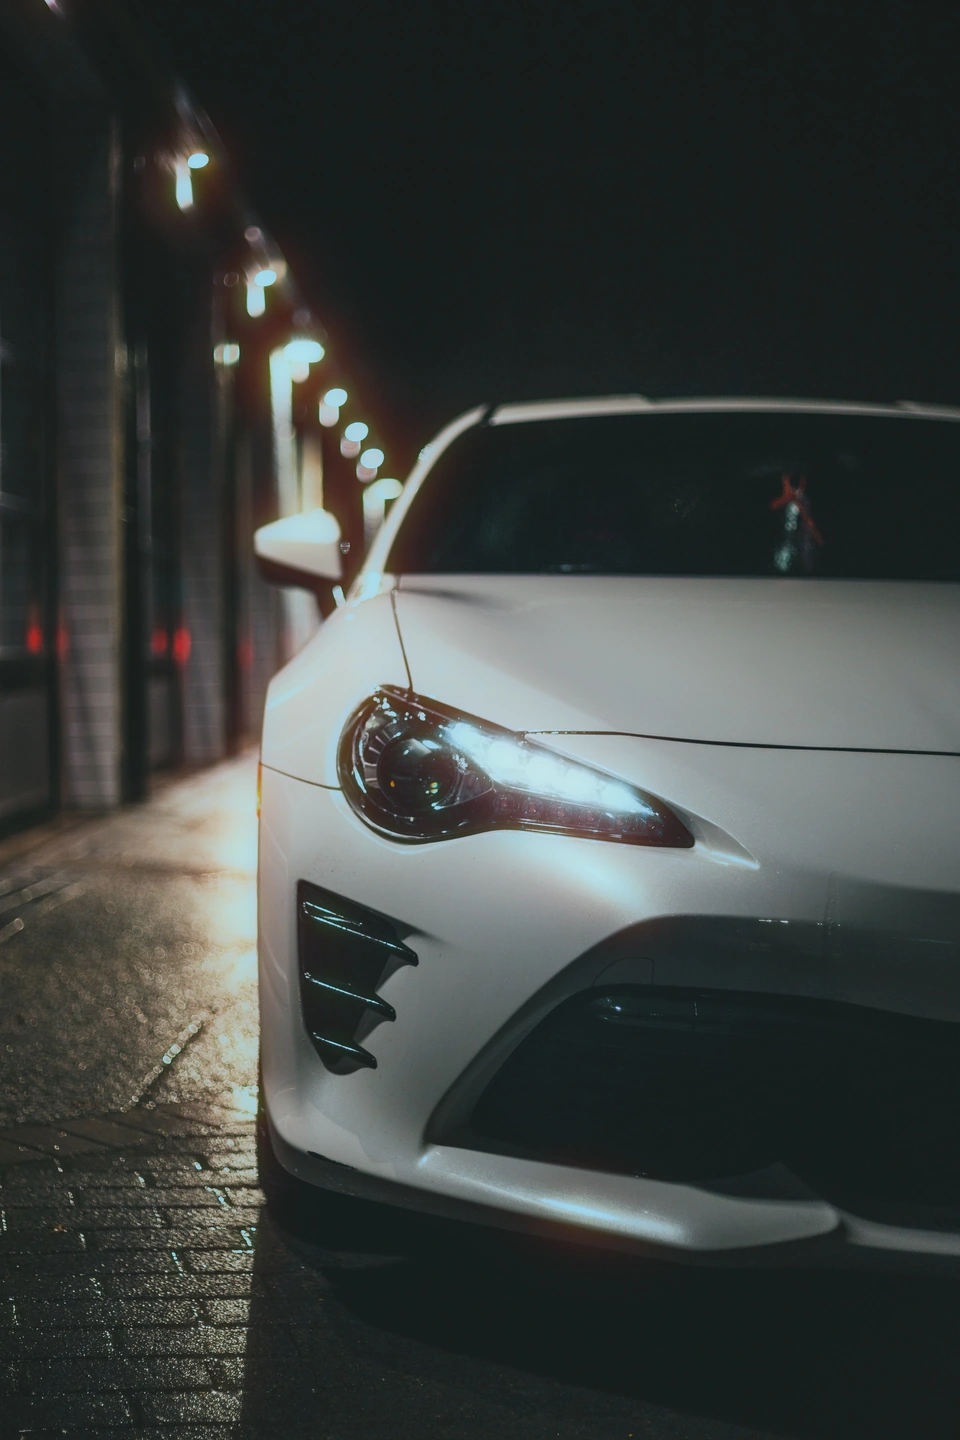
A little warmth at the edge of light.
Halation is the coloured glow associated with light scattering back through film. Photonica recreates that character around bright areas, letting a warm fringe reach into the surrounding shadows.
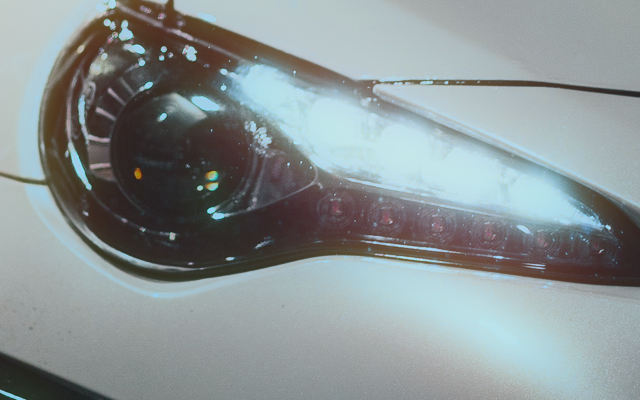
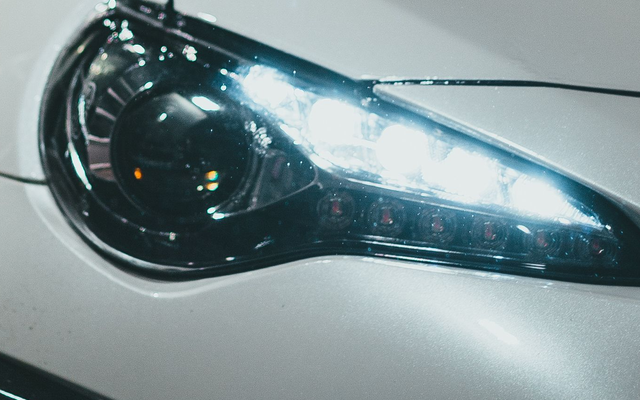
Start with a bright edge.
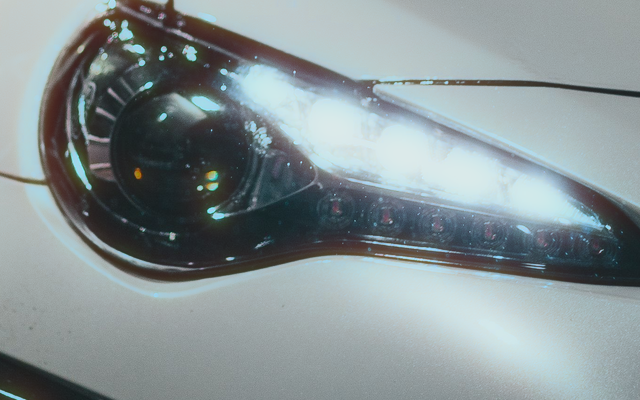
A headlight against a dark street gives the glow somewhere to show. Window reflections, illuminated signs and backlit hair are good places to experiment, too.
A softly lit scene with little contrast may show only a gentle change. Halation follows the light that is already in your photograph.
These examples were made in Photonica. “Before” retains the photographer’s original treatment. Halation is a creative interpretation of a film effect.
More glow. More room to spread.
Amount controls how pronounced the halo is. Radius changes how far it spreads. Adjust one at a time and watch the same bright edge.
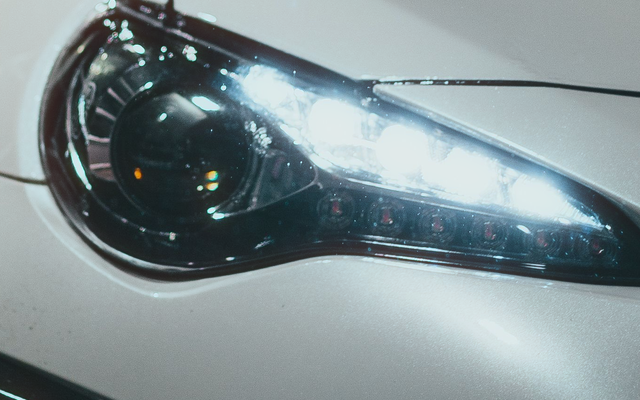
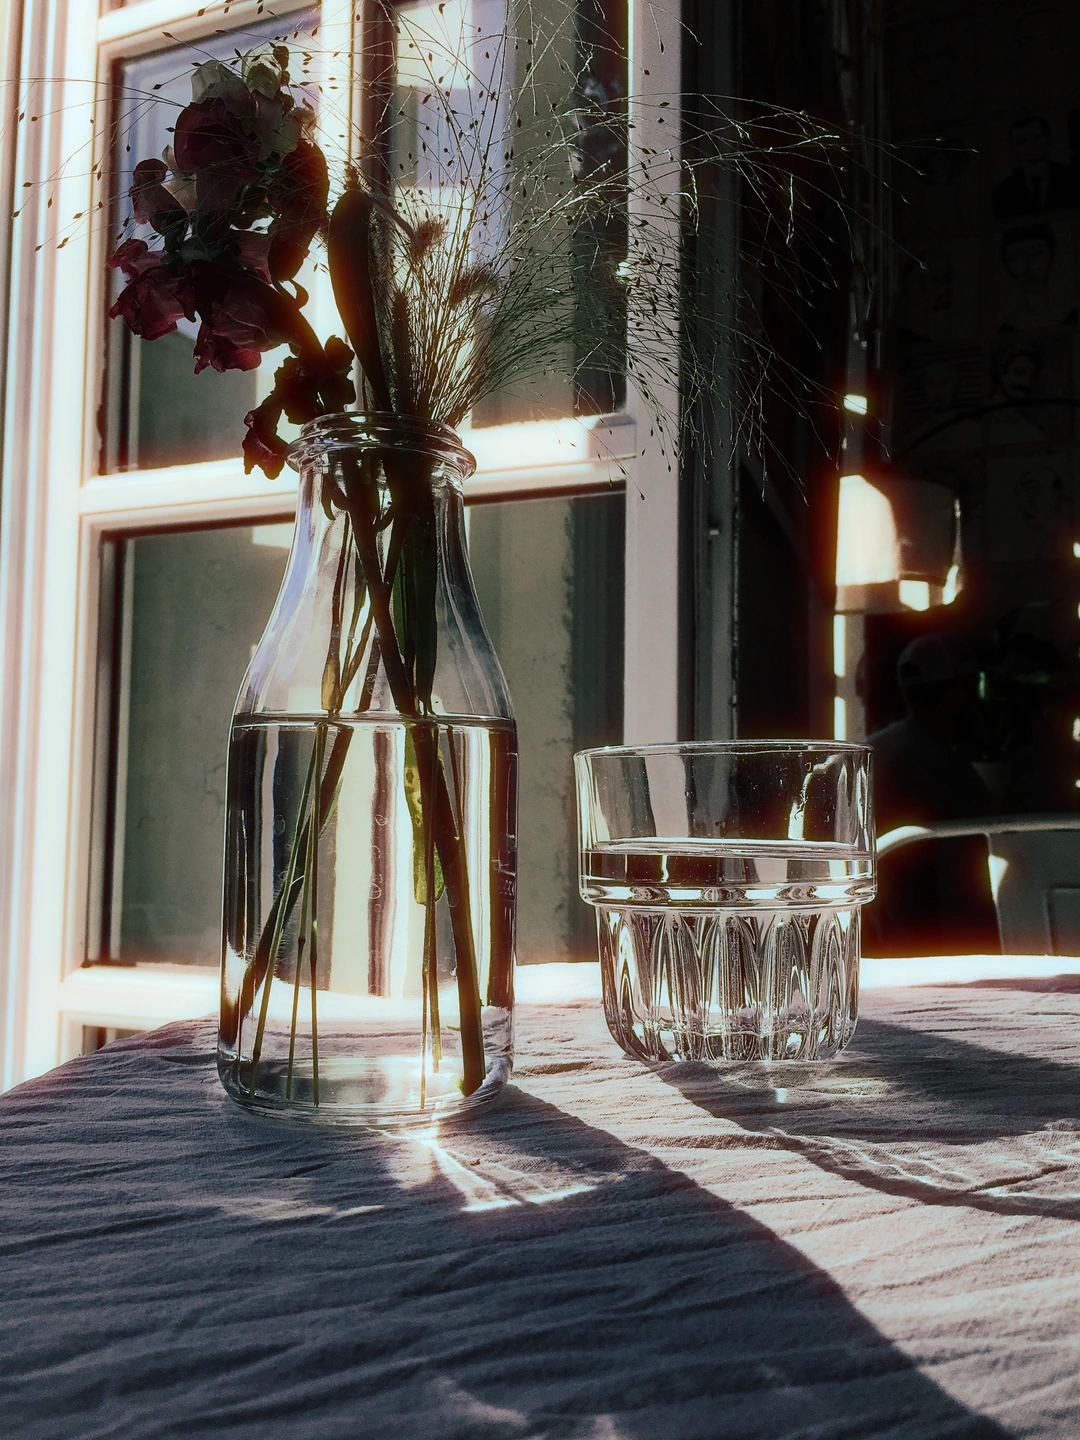
Follow the daylight, too.
Look for sunlight catching a glass rim or a bright window behind a darker subject. The small highlights can pick up warmth while the rest of the scene keeps its detail.
Halation or diffusion?
Use halation for a coloured fringe around bright light. Use diffusion for a broader veil of scattered light and softer contrast. You can combine them, then lower either amount if the image feels too hazy.
Explore the light toolsHow to add halation to a photo.
Start with your own photograph. Halation is free and works with or without a film look.
Open your photograph.
Open the editor and choose a photo with bright highlights. Your image is processed locally on your device.
Find Light, then Halation.
Raise the halation amount from zero. Try 35 as a starting point, then compare the bright edges with your original.
Shape the halo.
Adjust Halation radius for a tighter fringe or a wider glow. Check both the whole photograph and a close detail before saving your JPEG.
A few things to know.
Why can I barely see the effect?
Look for a bright highlight next to a darker area. Increase the amount, then try a wider radius. An evenly lit surface gives the halo less contrast, so changing the photograph may help more than pushing every setting.
Do I need to choose a film first?
No. Halation works on its own. The night and window-light examples on this page have only halation added. You can also combine it with a film look and grain.
Can halation recover a blown-out highlight?
No. It adds a glow around bright areas; it cannot restore detail missing from the original photograph.
Is halation free?
Yes. Amount and radius are both free, with no account needed to edit or export. Pro adds original-resolution export and other creative tools.
Photographs: Erik Mclean and Valerie de Limoges on Pexels. Edited in Photonica.
Make it your photograph.
Bring a photograph and see where it takes you. Your photo stays on your device.
Open editorUse a WebGPU-compatible browser. Free JPEG export uses a working image up to 2560 px on its longest side before cropping.
Explore all photo editing tools