
Monochrome. Light and shape.
Make light, gesture and shape the subject. Build a black-and-white photograph, then give the print a warm or cool tone.
Open editorFree
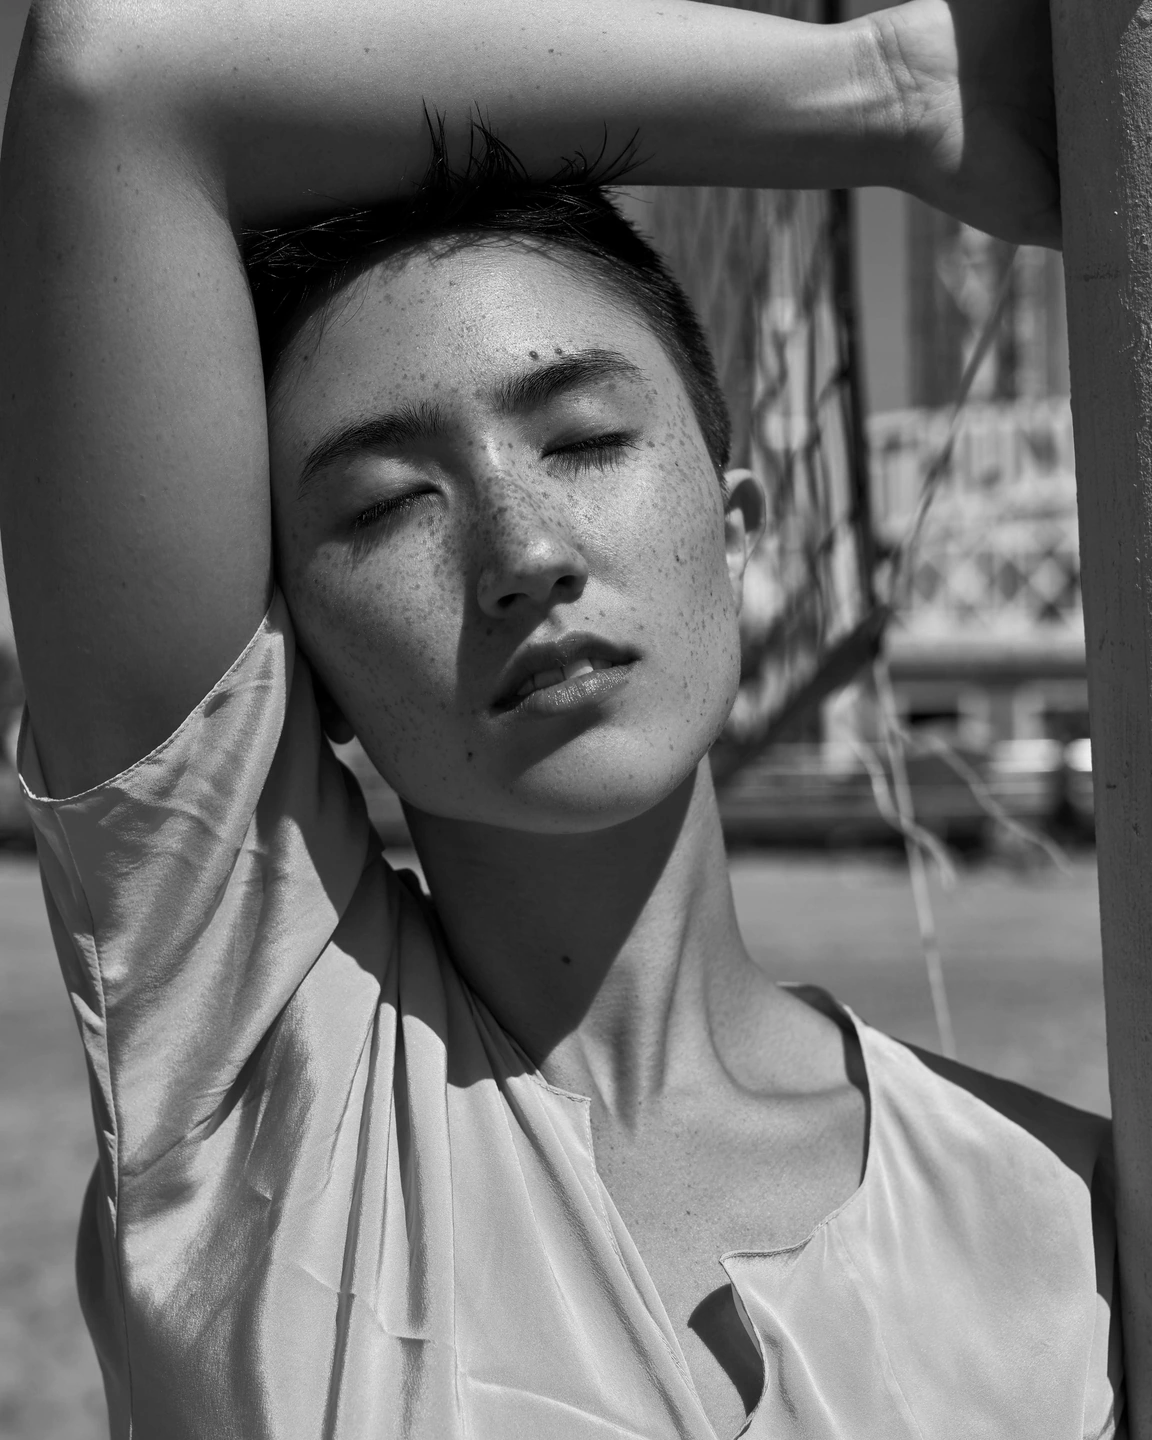
A different way of seeing the same scene.
Black and white changes what competes for attention. A bright garment can become a quiet grey, while a line of sunlight becomes the most important shape in the frame. This can make a photograph feel more direct, but the strongest conversion still depends on the light and structure already present.
Photonica lets you control how the source colours contribute to the monochrome result. Red, green and blue adjustments help separate areas that would otherwise become similar greys. That makes monochrome more deliberate than simply removing saturation: you can decide which relationships should remain clear after colour disappears.
Start with neutral black and white, sepia or a cool print tone. You can then change the monochrome mix, the colour contributions and the print hue and colour amount. The tone belongs to the final rendering; you do not need to add aging or distress to make a warm print.
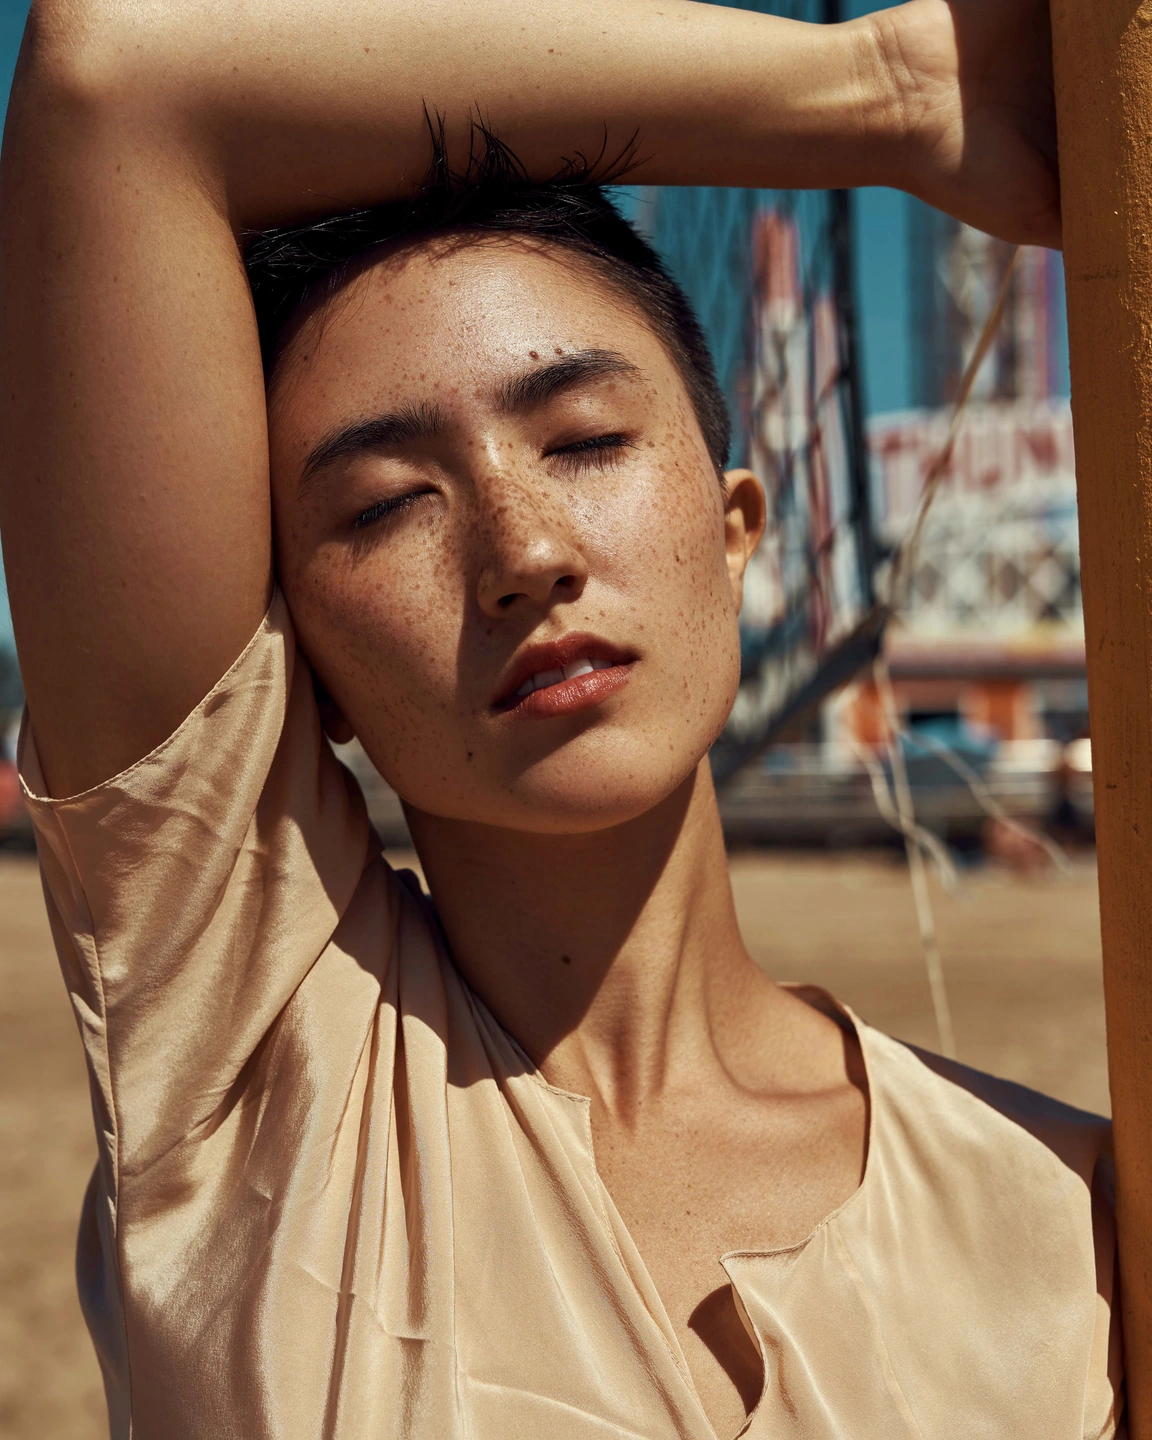
Colour source / monochrome treatment. Existing skin detail remains part of the source photograph.
Read the light, then the expression.
In this close portrait, sunlight, freckles and the curve of an arm carry the composition. Removing colour shifts attention towards those details. Compare the face and background together: a useful conversion keeps the subject separate without making every edge equally forceful.
Move the divider to compare. Before on the left, after on the right. Zoom in to look closer.
Made with Photonica. Source photographs retain their photographer’s original treatment. Film and optical effects are creative interpretations.
When to use monochrome.
A starting point for your photograph. Let the subject and the light guide the final choice.
Portraits with clear directional light
Light from a window or low sun creates shapes that can remain expressive without colour. Adjust the channel contributions carefully around skin and lips; a small change can alter the balance of the face.
Street scenes with distracting colour
When signs, clothing and painted surfaces compete with a gesture, try monochrome. The conversion works best when you can still find a clear subject through brightness, shape or timing.
A small sequence of photographs
A common print tone can help a group feel coherent even when the source colours differ. Keep local exposure decisions specific to each photograph instead of forcing every frame into identical brightness.
Find your balance.
- Monochrome mix
- Choose how strongly the monochrome conversion replaces the colour image. Full monochrome gives a black-and-white foundation; a partial mix can retain some source colour.
- Red, green and blue
- Shape the contribution of source colour channels to the greys. Watch several areas at once because a channel affects colours throughout the photograph.
- Print hue and print colour
- Choose the direction and amount of the print tone. Neutral, sepia and cool looks offer starting points for your own balance.
How to use monochrome in Photonica.
Try a neutral conversion
Begin in black and white and ask whether the composition becomes clearer. Keep the print tone out of the decision for a moment.
Separate important shapes
Adjust colour-channel contributions while watching the subject against its background. Avoid making skin or sky unexpectedly harsh.
Choose the print mood
Stay neutral or introduce a restrained warm or cool tone. Add grain only after the tonal relationships feel complete.
Free Compare Free and Pro.
A few things to know.
Are sepia and cool print available for free?
Yes. The monochrome tools, including print hue, print colour and the three colour-channel controls, are free.
Is this a collection of historical black-and-white films?
No. Monochrome is a flexible conversion and print-toning tool. It is separate from the named colour-film emulations in the film catalogue.
Photography: Saul Joseph on Pexels. Edited in Photonica.
Make it your photograph.
Bring a photograph and see where it takes you. Your photo stays on your device.
Open editorUse a WebGPU-compatible browser. Free JPEG export uses a working image up to 2560 px on its longest side before cropping.
Explore all photo editing tools