
Keep a clear centre. Let the edges move.
Prism displaces detail and separates colour at the edges. Soft lens spreads the surrounding detail more gently. Resize the protected area directly on your photograph.
Pro
In this guide
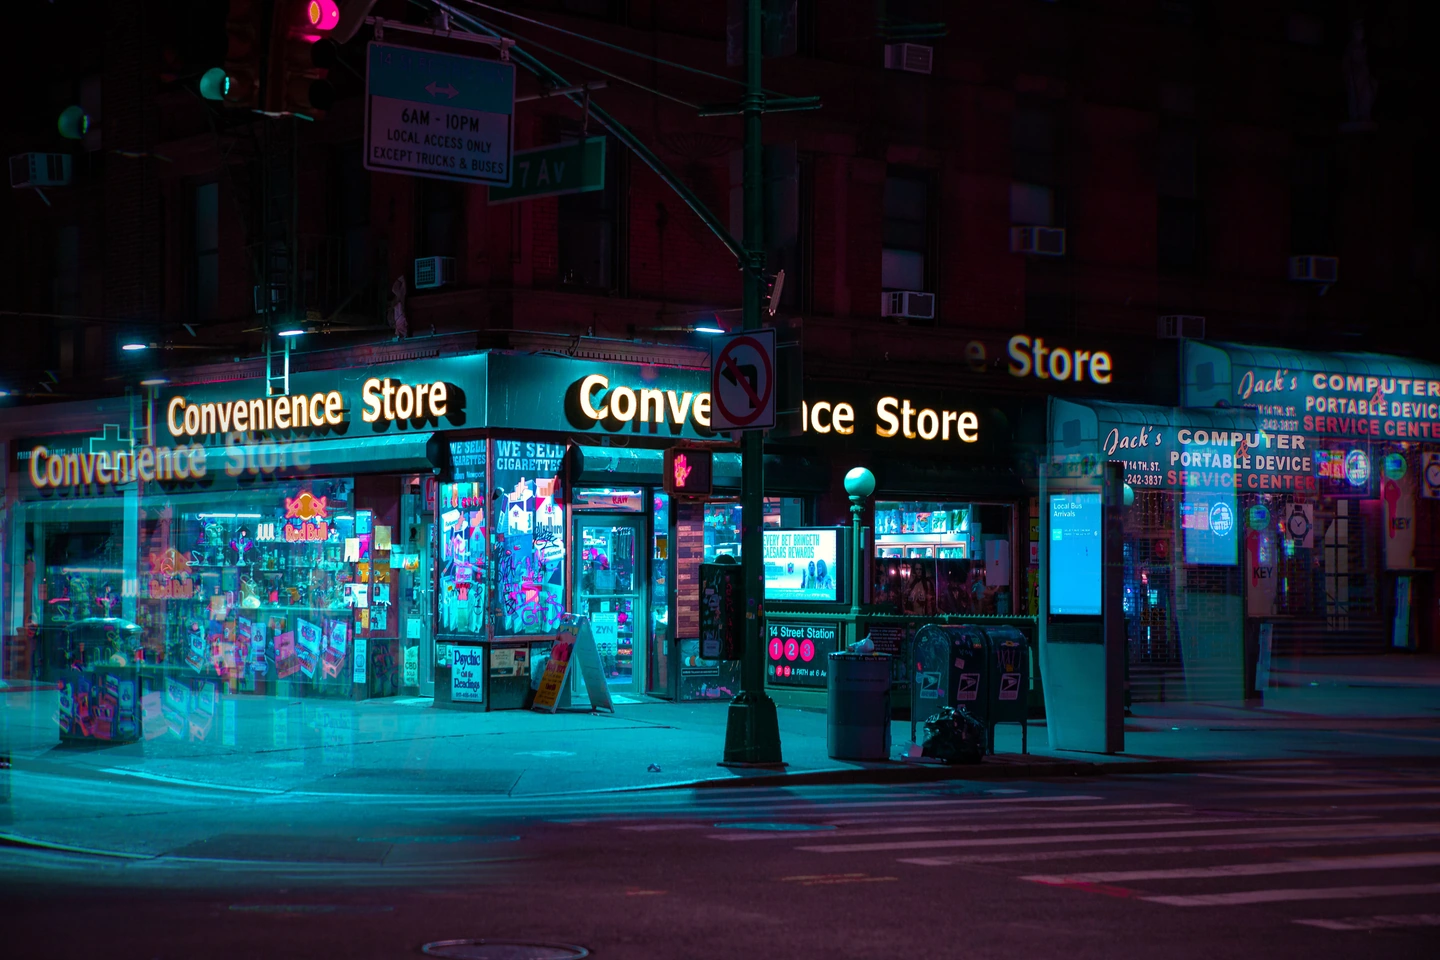
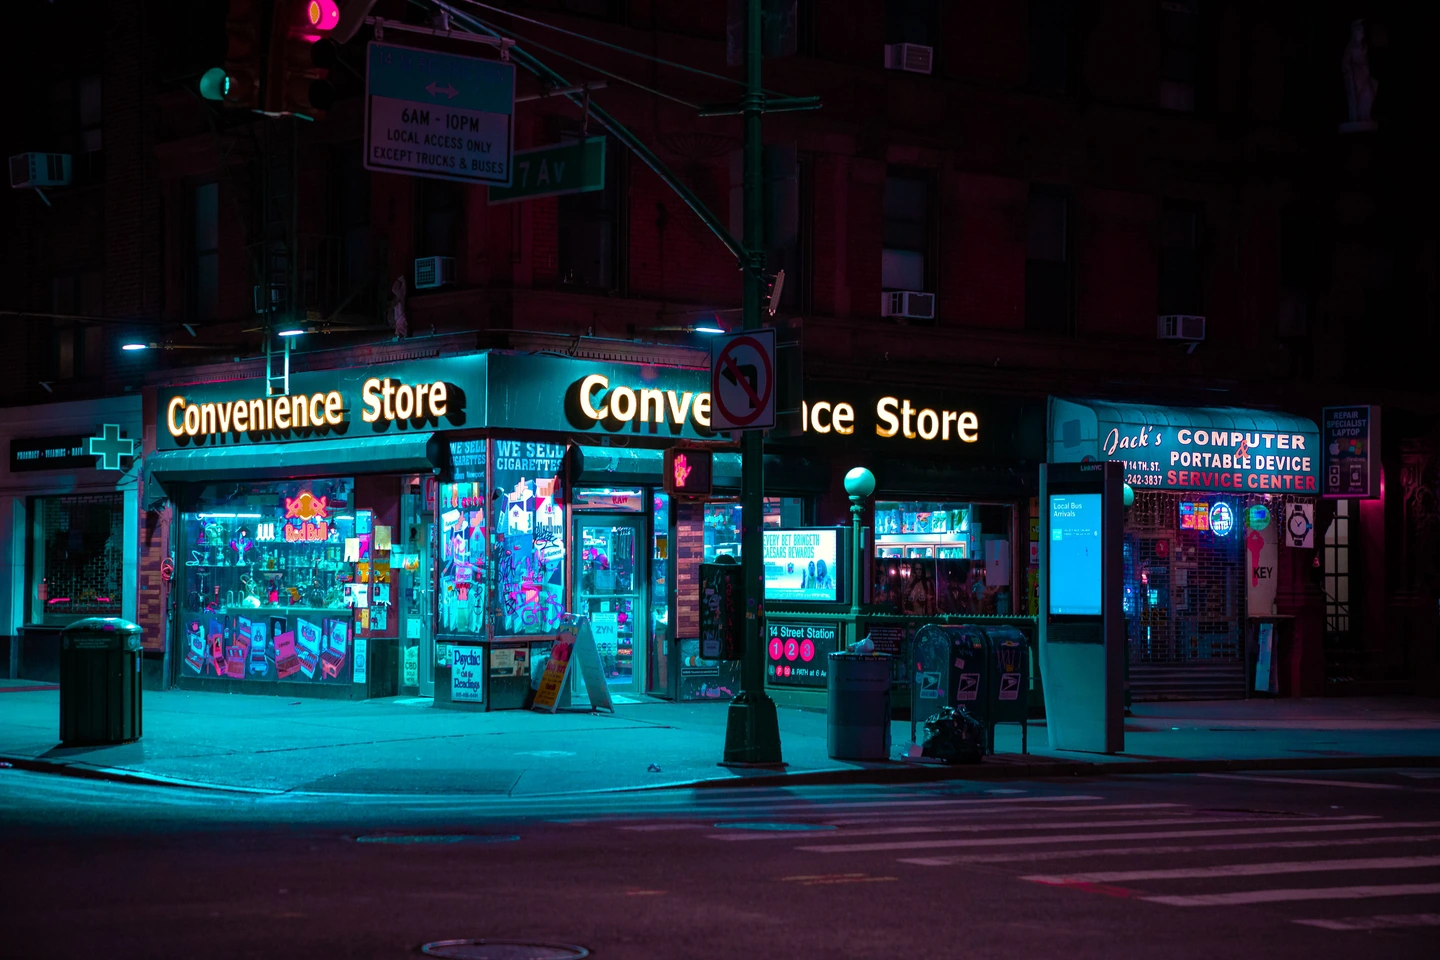
Follow the letters towards the edge
The shop signs give the prism something precise to break apart. Compare the central entrance with the outer lettering and street lights. The displaced colour and repeated edges come from the effect; the scene itself is unchanged.
About these controls
- Amount and Colour fringe
- Amount changes the strength of the optical effect. Colour fringe controls the separation of colour at displaced edges. Try reducing fringe if the lettering becomes harder to read than you want.
- Placement on the photograph
- Resize the clear central area with its on-photo handle. Turn the direction arrow to rotate the prism. The area follows the centre of the current crop; it does not detect or follow a face.
Keep the eyes clear and inspect the curtain
This portrait uses Soft lens with no colour fringe. Compare the face near the centre with the curtain and jacket nearer the edges. Make the protected area large enough for the detail you want to keep.
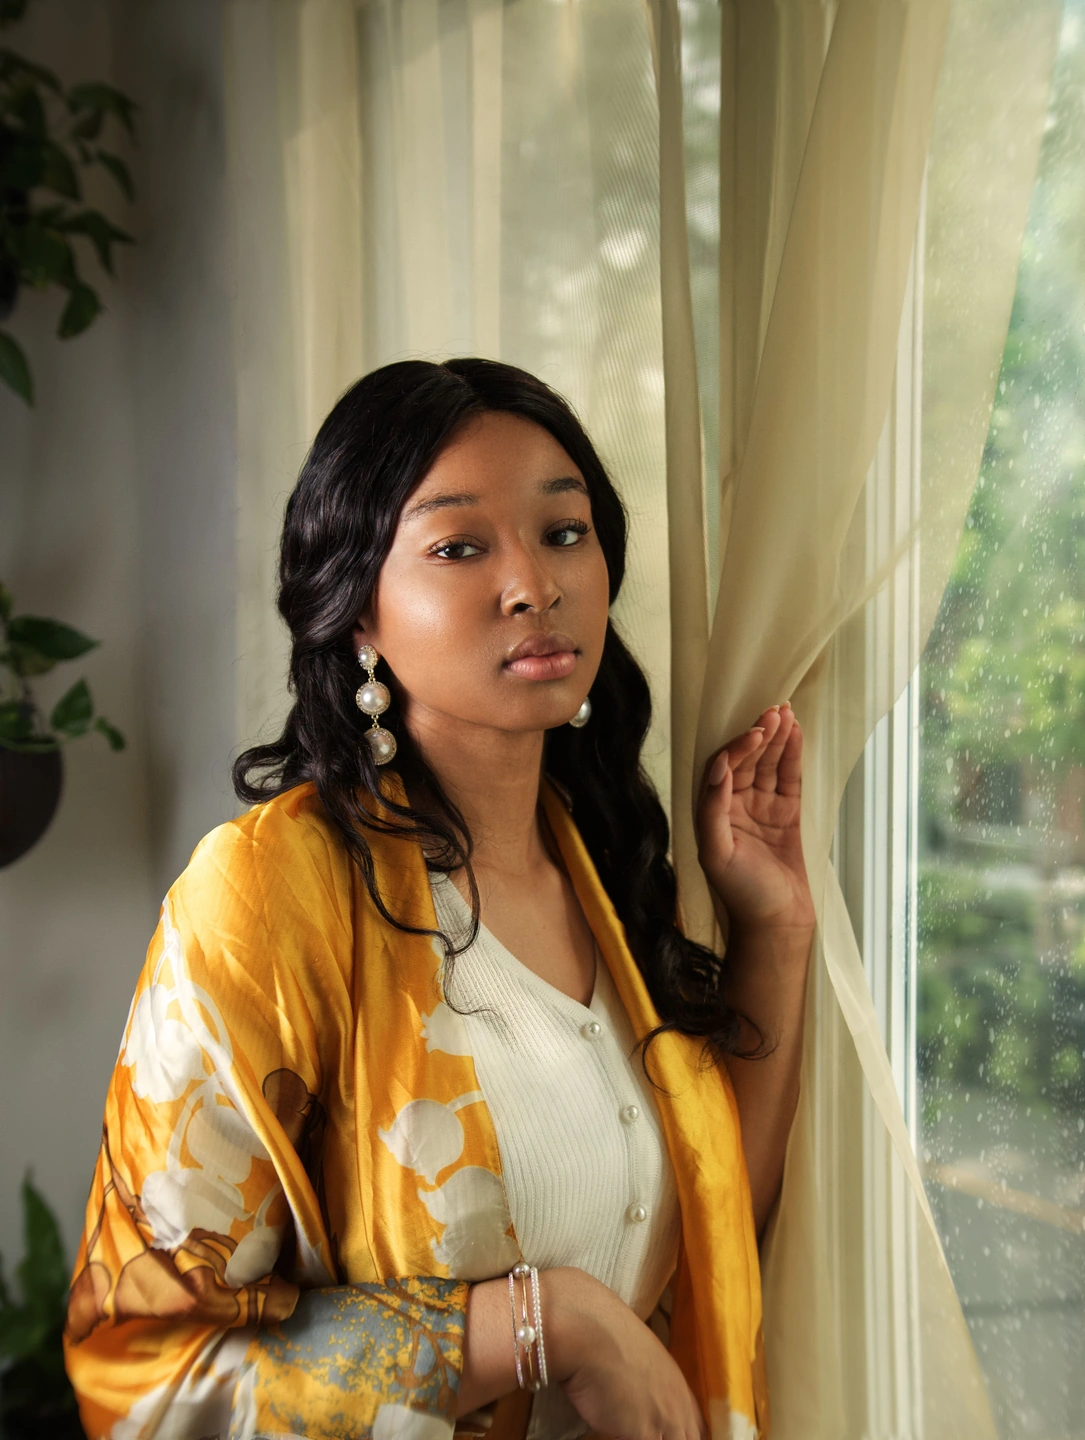
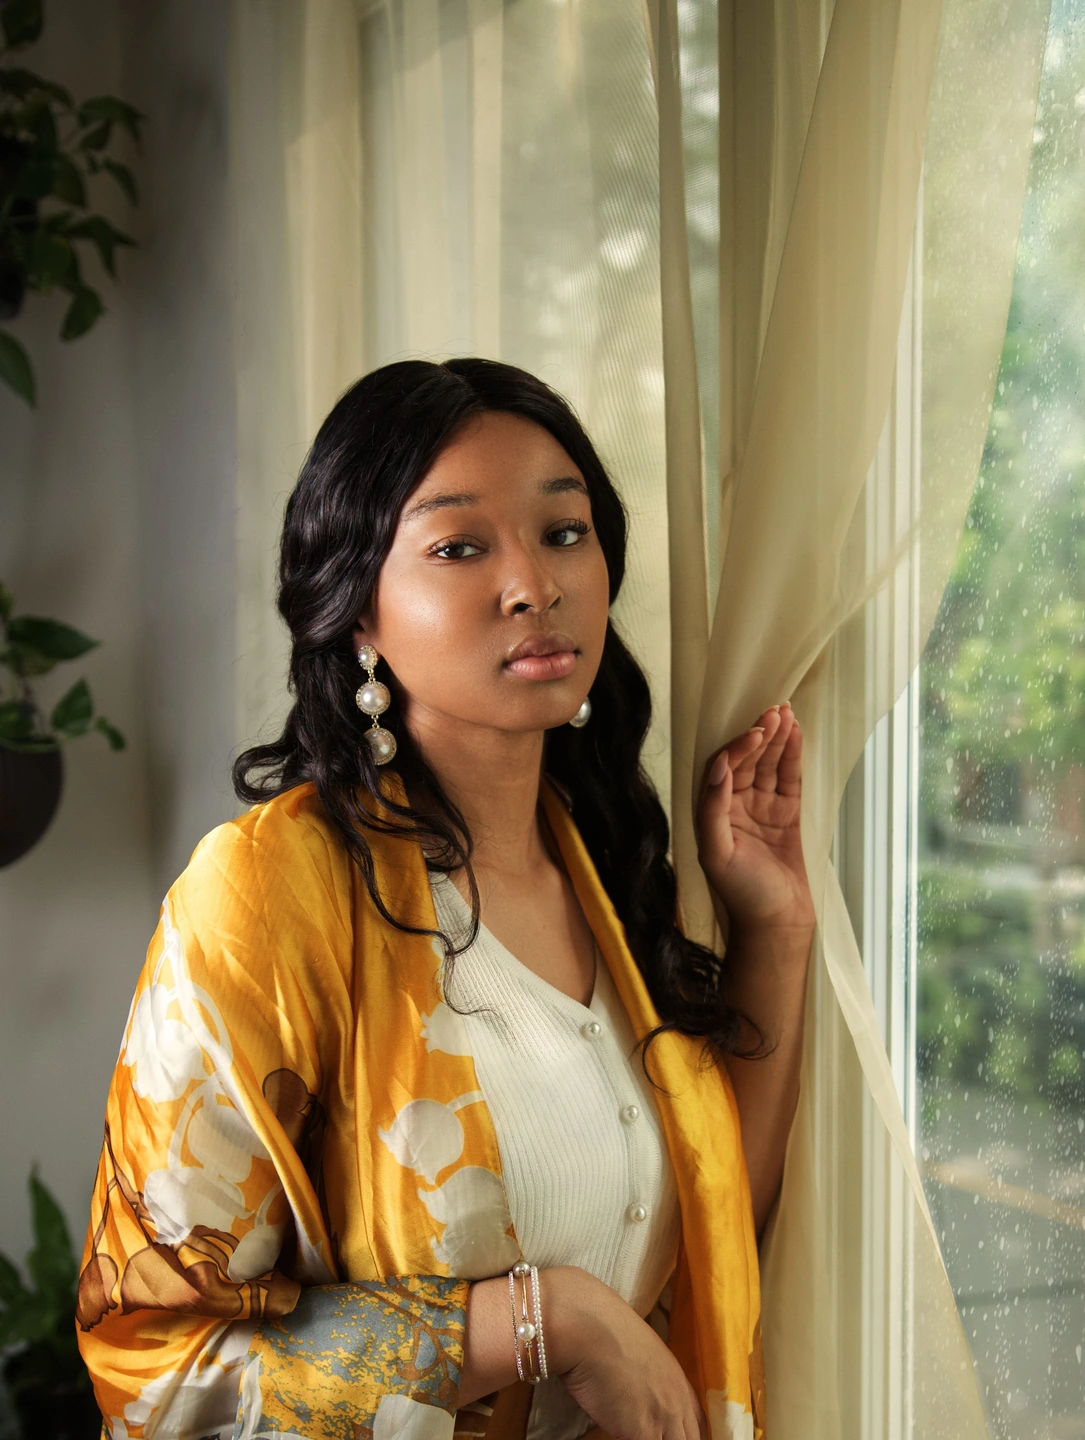
About these controls
- Soft lens or diffusion?
- Soft lens changes detail around a protected central area. Diffusion spreads existing bright light into neighbouring areas. Texture → Softness reduces fine detail across the photograph. Compare them separately before combining them.
- Crop first
- The optical centre follows your crop. Finish the composition, then set the protected area. This is a creative distortion, not lens-profile correction or subject-aware background blur.
Place the clear area before raising the effect
- Open a photograph, finish Crop & rotate, then choose Optics. Select Prism or Soft lens.
- Resize the protected area on the photo. With Prism, drag the direction arrow to turn the effect. Reset placement returns the handles to their starting position.
- Adjust Amount and Colour fringe. Compare the whole image, then inspect faces, lettering and edges before exporting.
The handles also support arrow keys; hold Shift for larger steps. Escape cancels a drag. Optics settings belong to your treatment and are saved in personal presets.
Set the crop before placing the optical effectMade with Photonica. Before images retain the photographer’s original treatment. Film and optical effects are creative interpretations. Source photographs are credited beside each study.