
Give a small light more room in the frame.
Turn bright areas into stars or light streaks. Add lens reflections from a source you place yourself. Compare each contribution before combining them.
Pro
In this guide
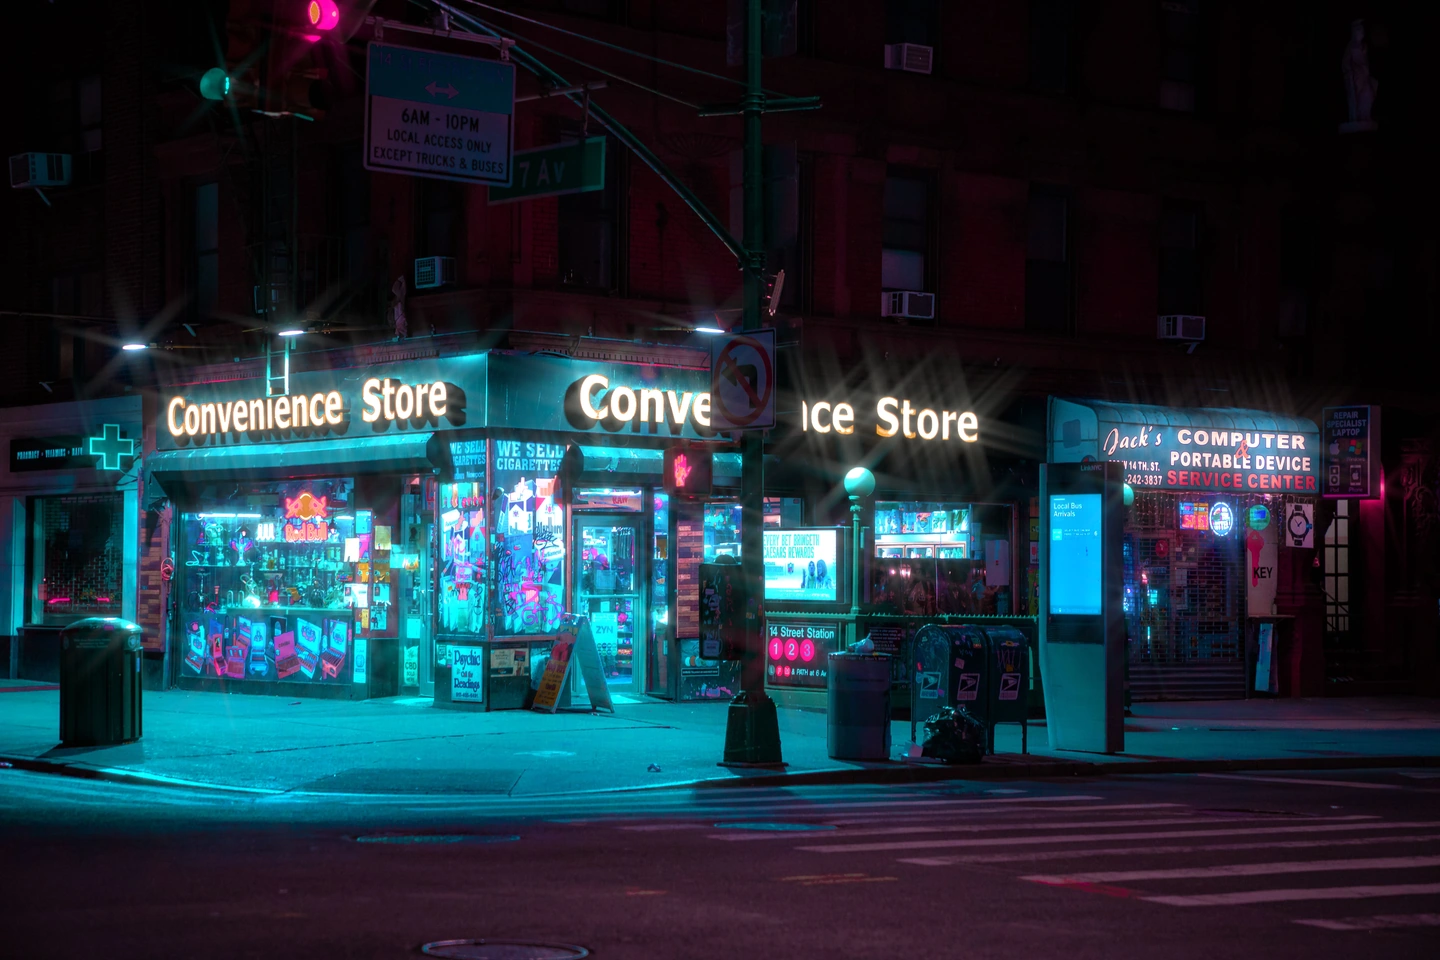
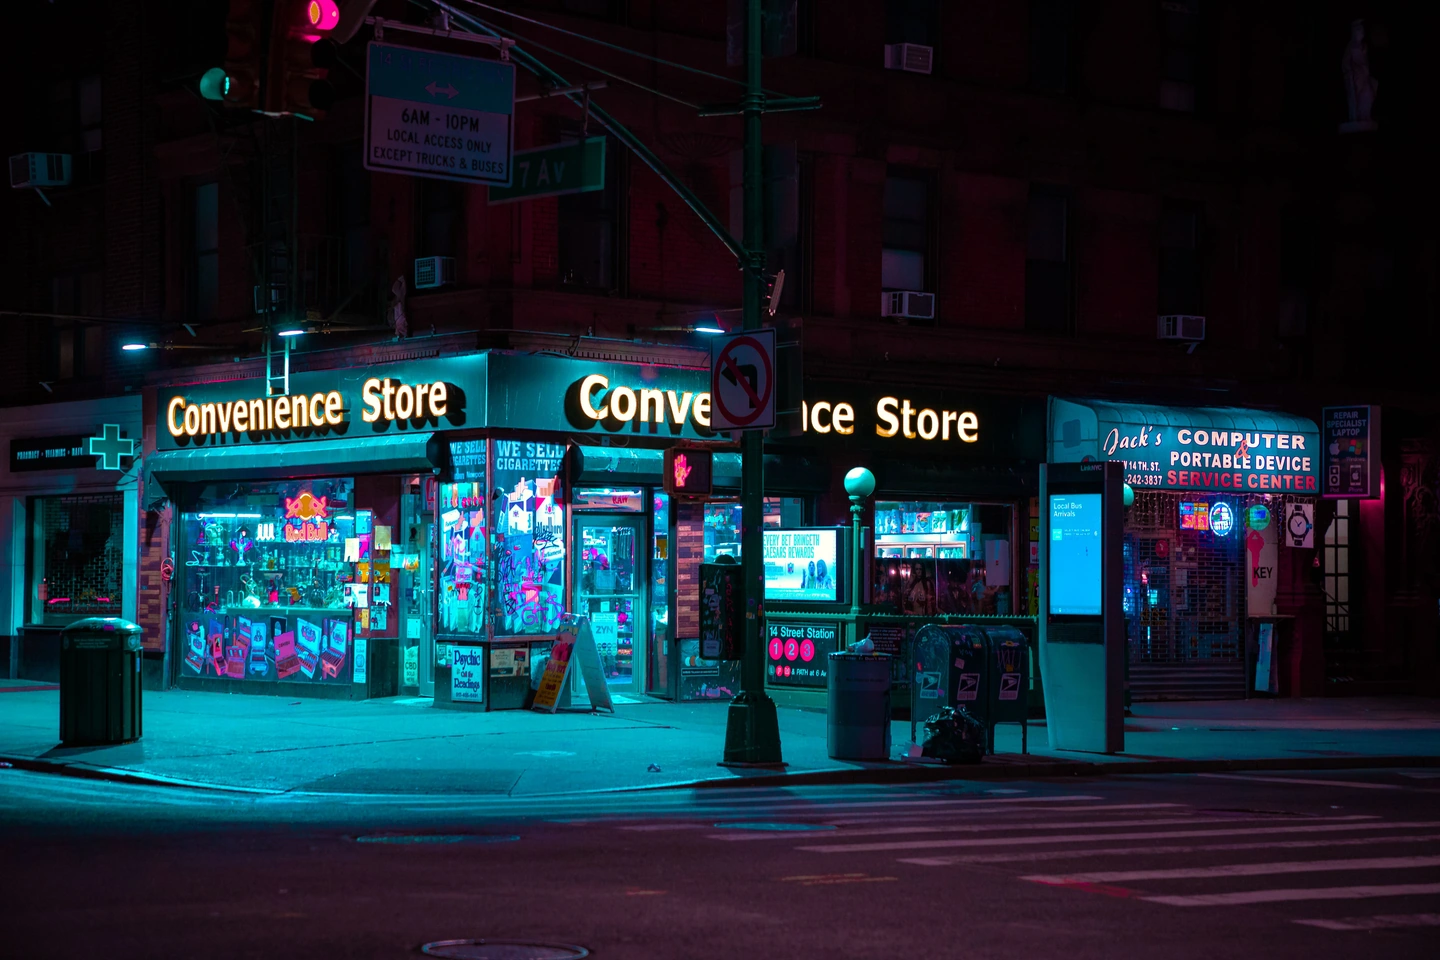
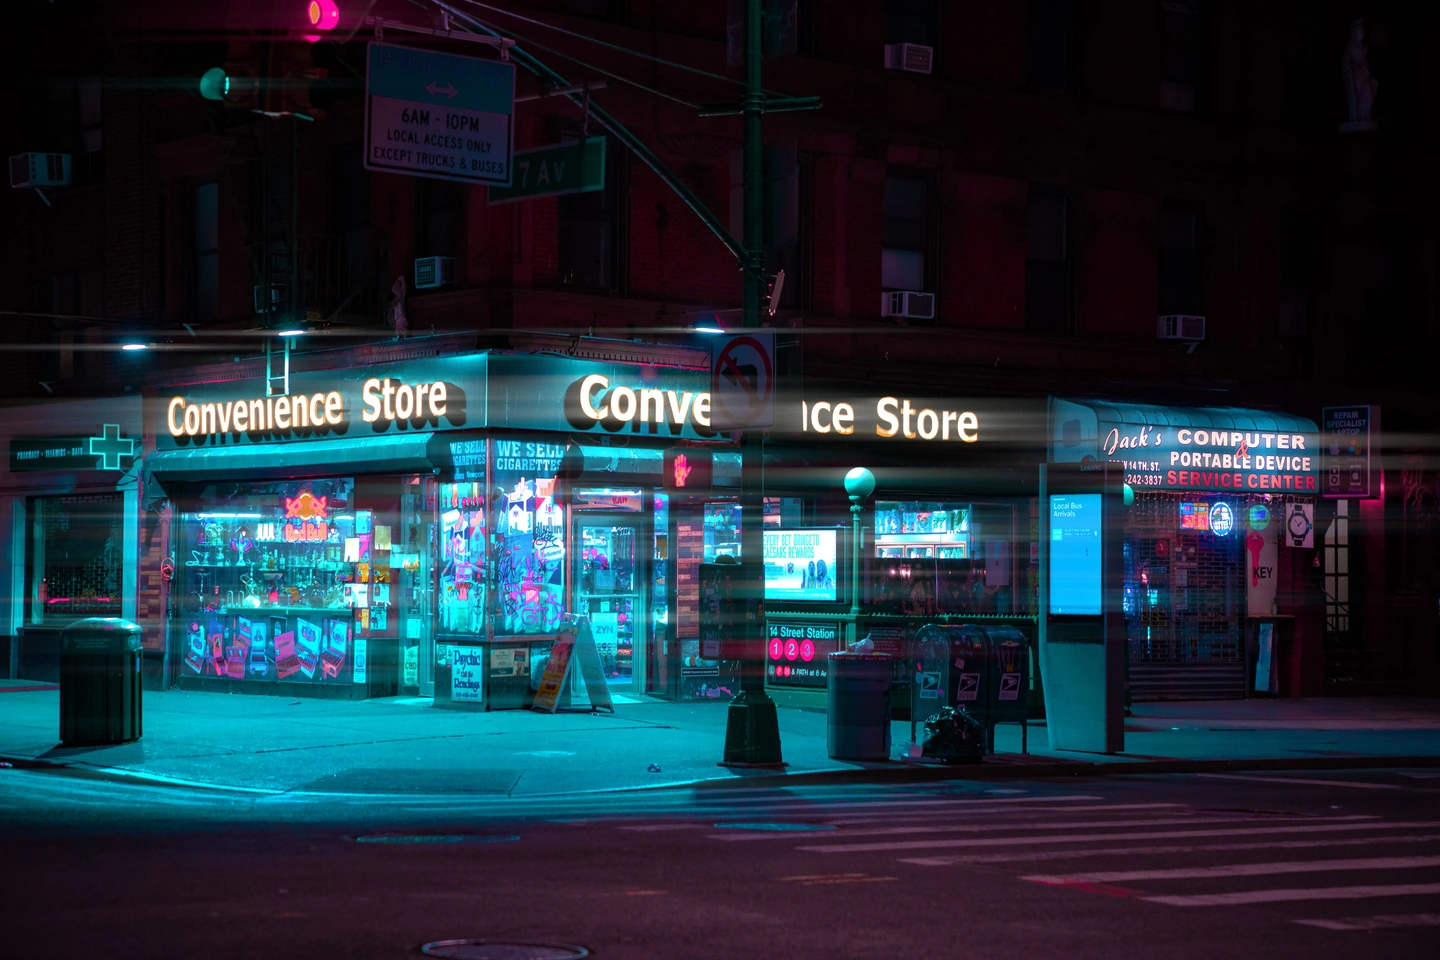
The threshold decides which lights grow rays
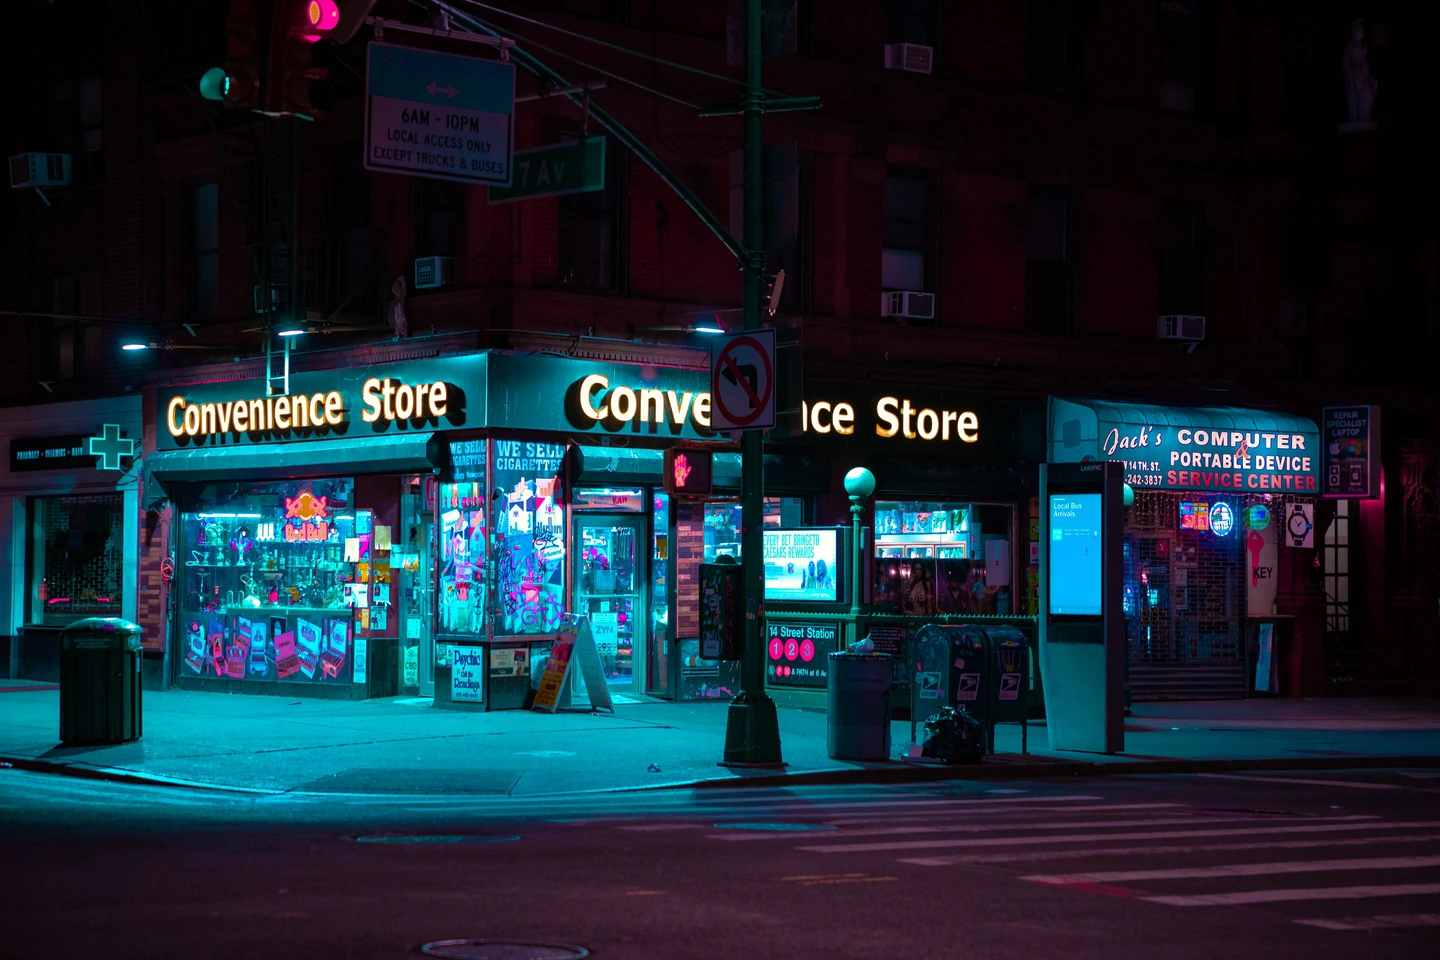
Watch the small lamps and bright shop lettering. Stars follow areas above the highlight threshold; they are not placed individually. The separate streak example uses the same threshold and length, with Stars switched down to 0.
About these controls
- Highlight threshold
- Raise it to restrict rays to brighter areas; lower it to include more of the scene. If signs turn into a dense web of rays, raise the threshold before increasing the amount.
- Ray length and Rotation
- Length controls how far the rays and streak spread. Rotation sets their direction. Keep these fixed when comparing Stars with Light streak so that the type of artifact is the only major change.
Place the source on a lamp
The source is placed over the cyan lamp above the left shop sign, at X 20 and Y 35. Compare the added reflections across the frame. Unlike stars, this source is chosen manually: moving it changes the arrangement.
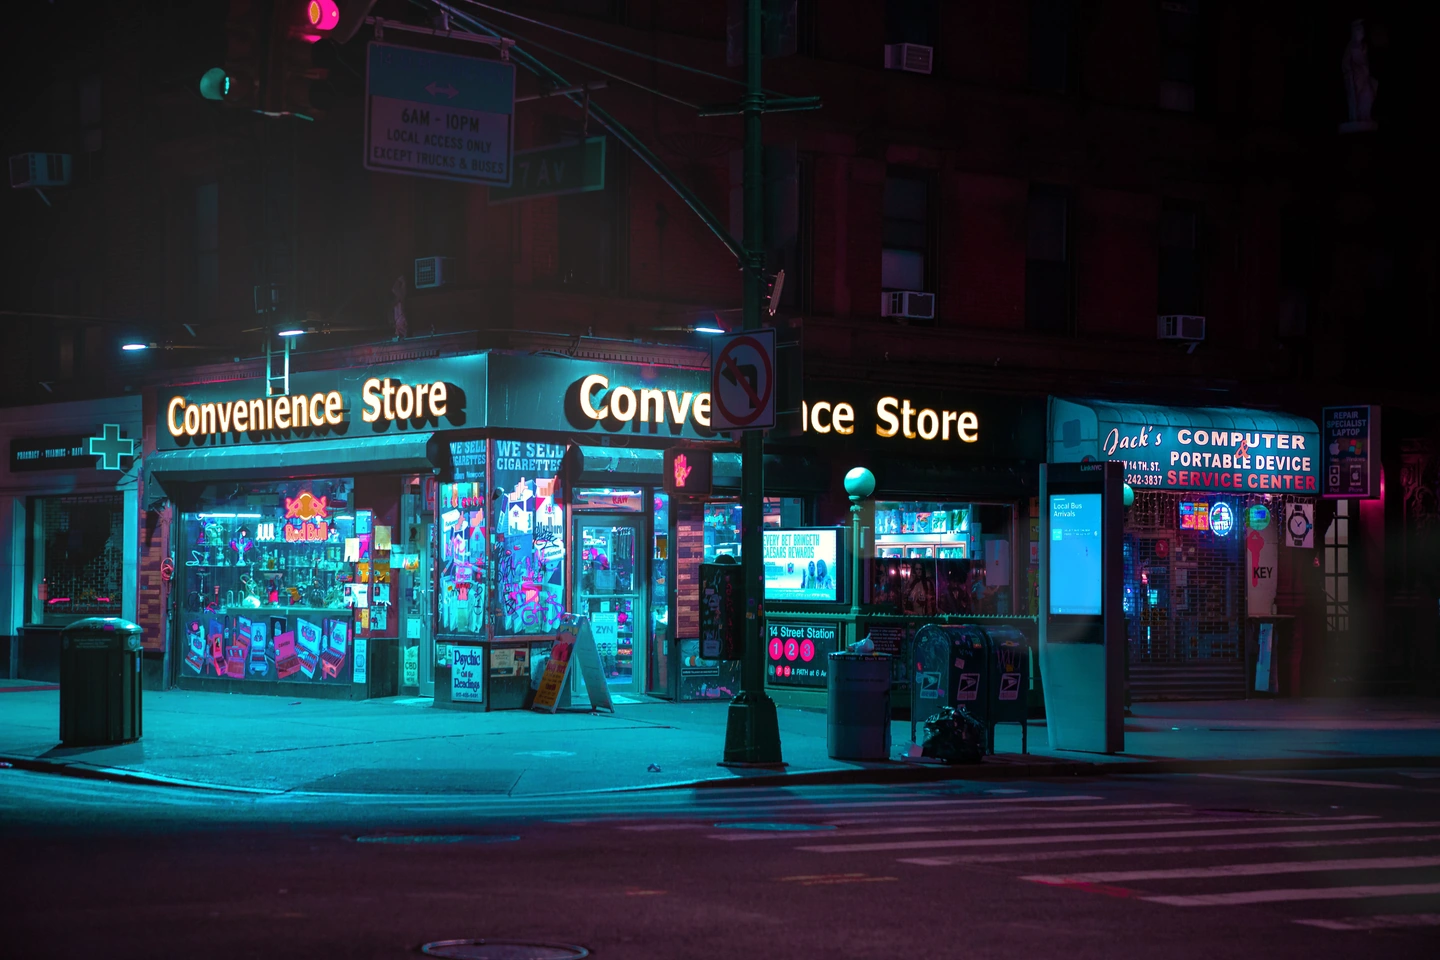
About these controls
- Lens reflections
- Raise this amount to see reflections, then drag the on-photo source onto a bright light. Use the source controls for a precise position. The tool does not automatically identify the lamp for you.
- Glare, halation or a light leak?
- Glare creates rays and lens reflections. Halation adds warm rims around bright edges. A light leak adds a wash from an edge or band without requiring a bright source in the photograph.
Build the light one contribution at a time
- Open a photograph with small bright lights. Select Glare & stars and enable the effect.
- For the star example, set Stars 55, Highlight threshold 80, Ray length 35 and Rotation 15°. Leave Light streak and Lens reflections at 0.
- To try reflections alone, lower Stars and Light streak to 0, set Lens reflections to 45, and move the source onto a lamp. Compare the original before adding another effect.
Arrow keys move the reflection source; Shift moves it faster. These are creative additions to one photograph, not a reconstruction of the lens that took it.
Save the light settings as a personal presetMade with Photonica. Before images retain the photographer’s original treatment. Film and optical effects are creative interpretations. Source photographs are credited beside each study.