
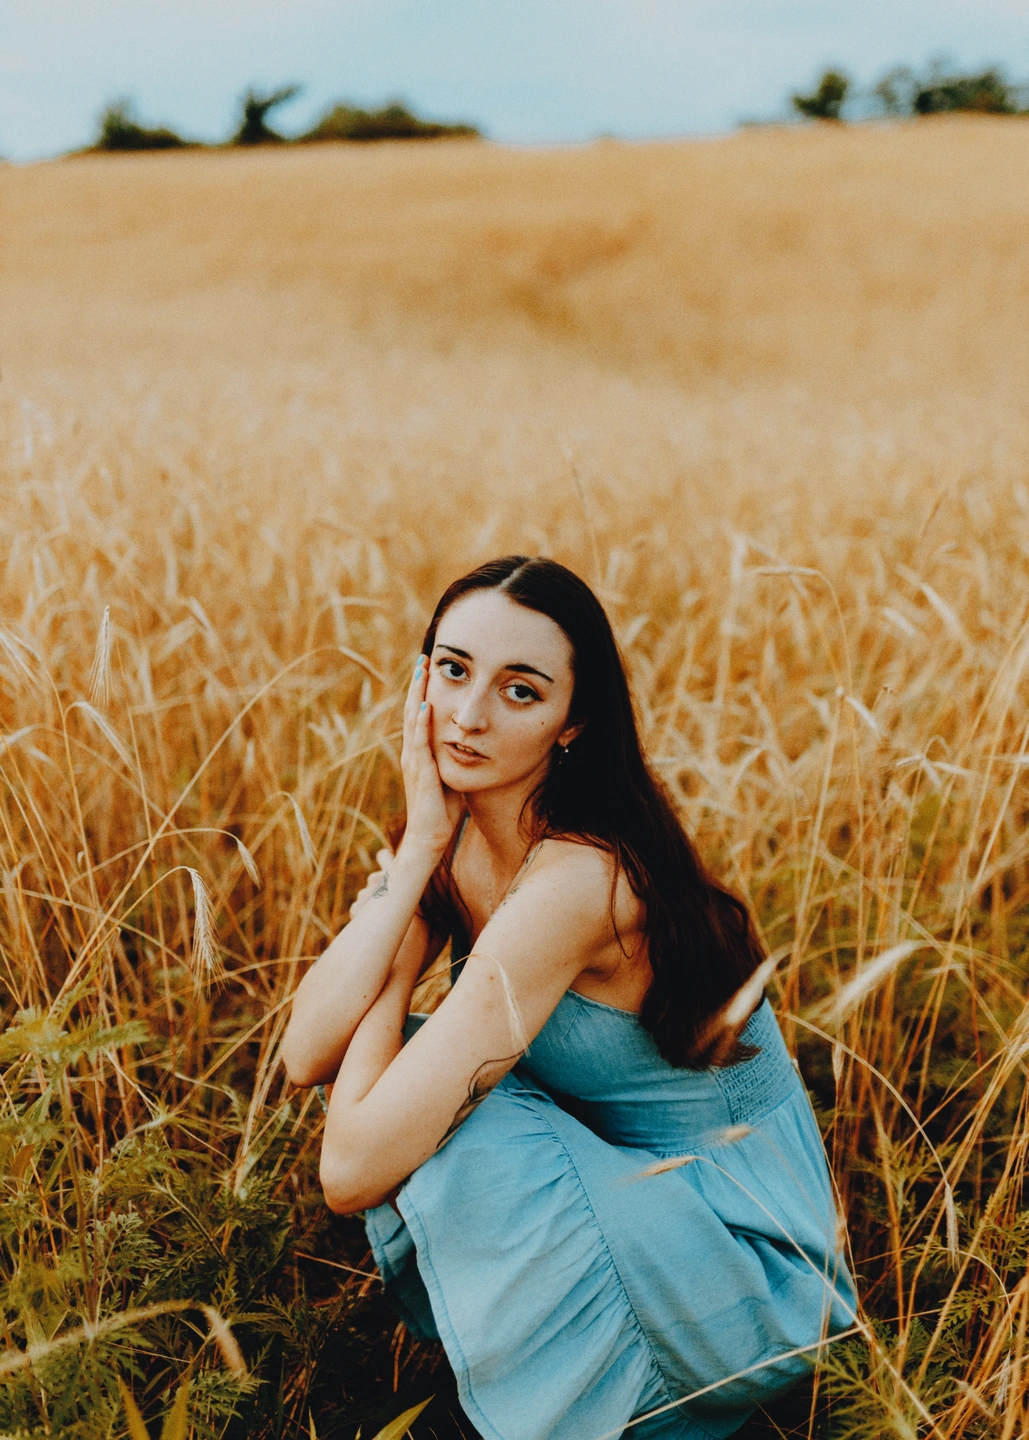
Make room for quieter colour.
Try Portra 400 when you want to assess a different balance between skin, warm surfaces and the surrounding colours. Compare the important midtones before adding texture.
Explore film colour on the photograph you already have. Find a foundation, then make the rest of the look your own.
Open editor5 films Free · 15 with Pro
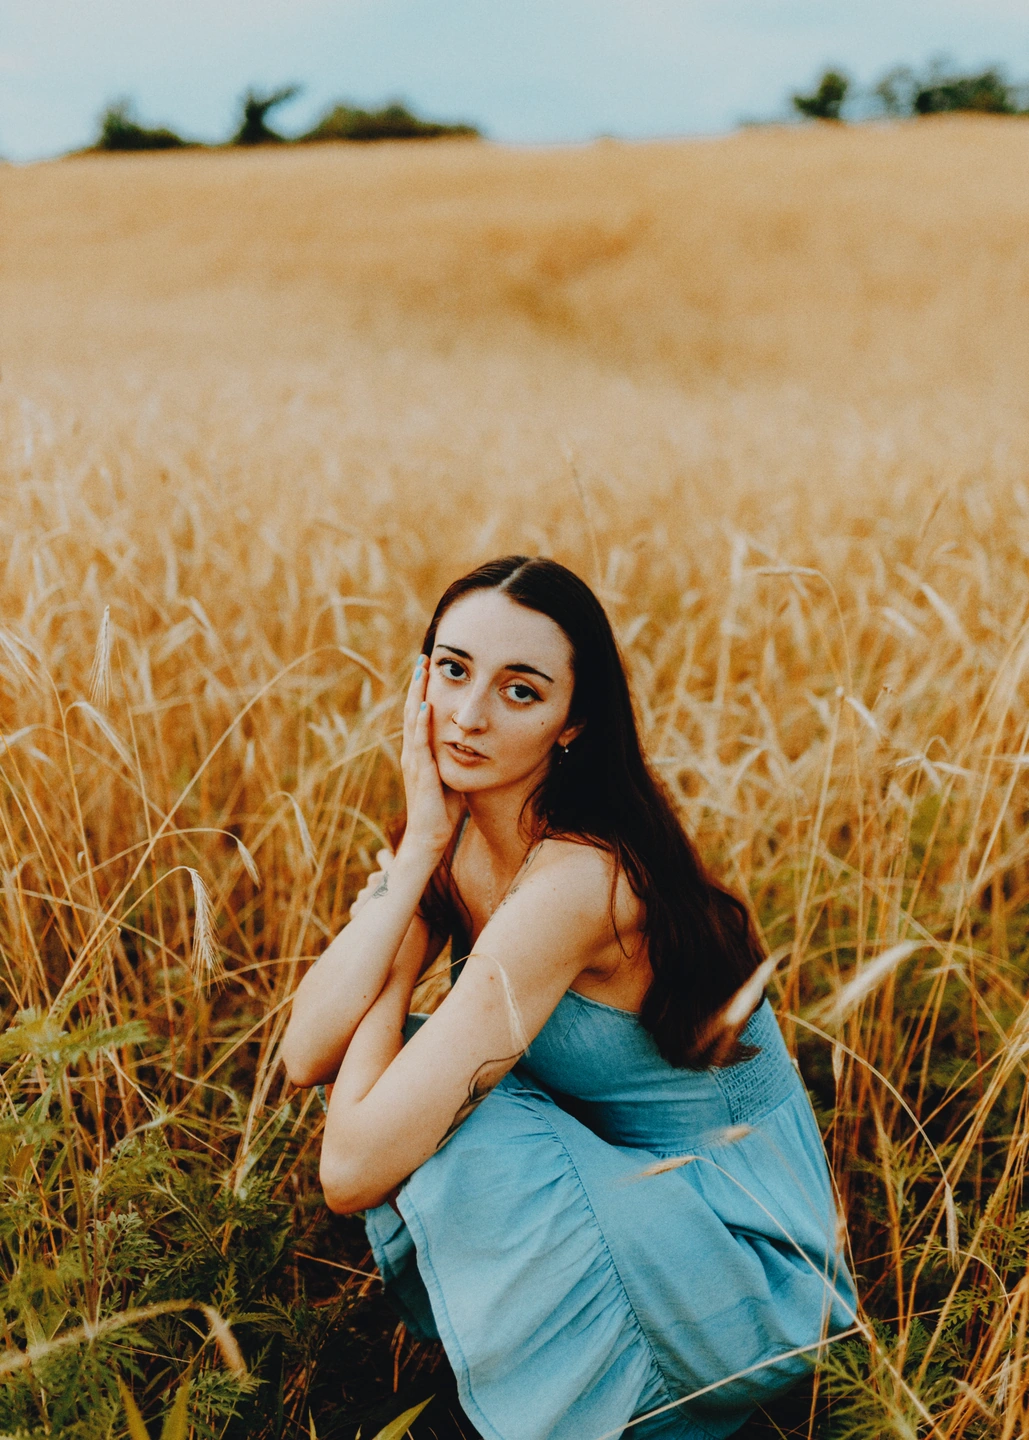
Film emulation gives a photograph a connected treatment of colour and contrast. The appeal is in the relationships: how a red object sits against blue water, how warm sand meets a pale sky, how a face remains distinct from its surroundings. A useful film foundation brings those relationships together before you start adjusting individual details.
In Photonica, you can compare different films on the same image. Gold 200, Portra 400, Ektar 100, Pro 400H and Velvia 100 are available for free; Pro opens the full catalogue of fifteen. A new photo begins with No film, so choosing an emulation is a creative decision. You can also build an entire image with the other tools and leave film switched off.
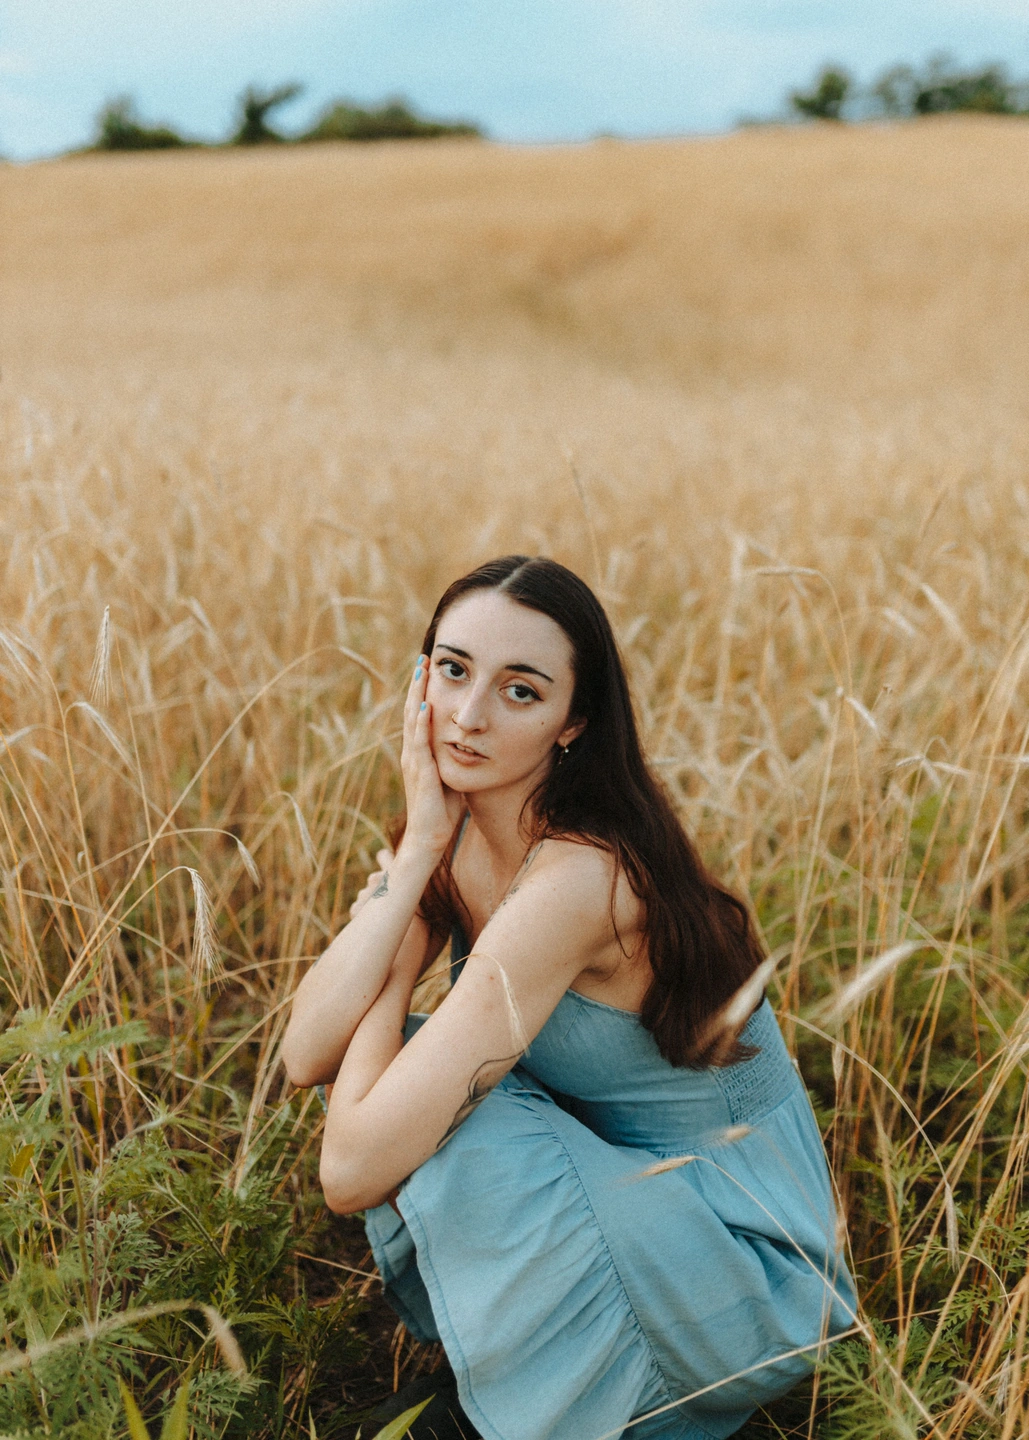
Before Photonica / Gold 200 with Portra Endura. The source photograph already contains its photographer’s colour treatment.
The field portrait, framing and source light stay the same. Compare the blue dress, golden grasses and skin before Photonica and with Gold 200, then look at Portra and Velvia below. Choose the interpretation that supports the picture, rather than expecting the film name to make the decision for you.
Move the divider to compare. Before on the left, after on the right. Zoom in to look closer.
Made with Photonica. Source photographs retain their photographer’s original treatment. Film and optical effects are creative interpretations.
Try Portra 400 when you want to assess a different balance between skin, warm surfaces and the surrounding colours. Compare the important midtones before adding texture.
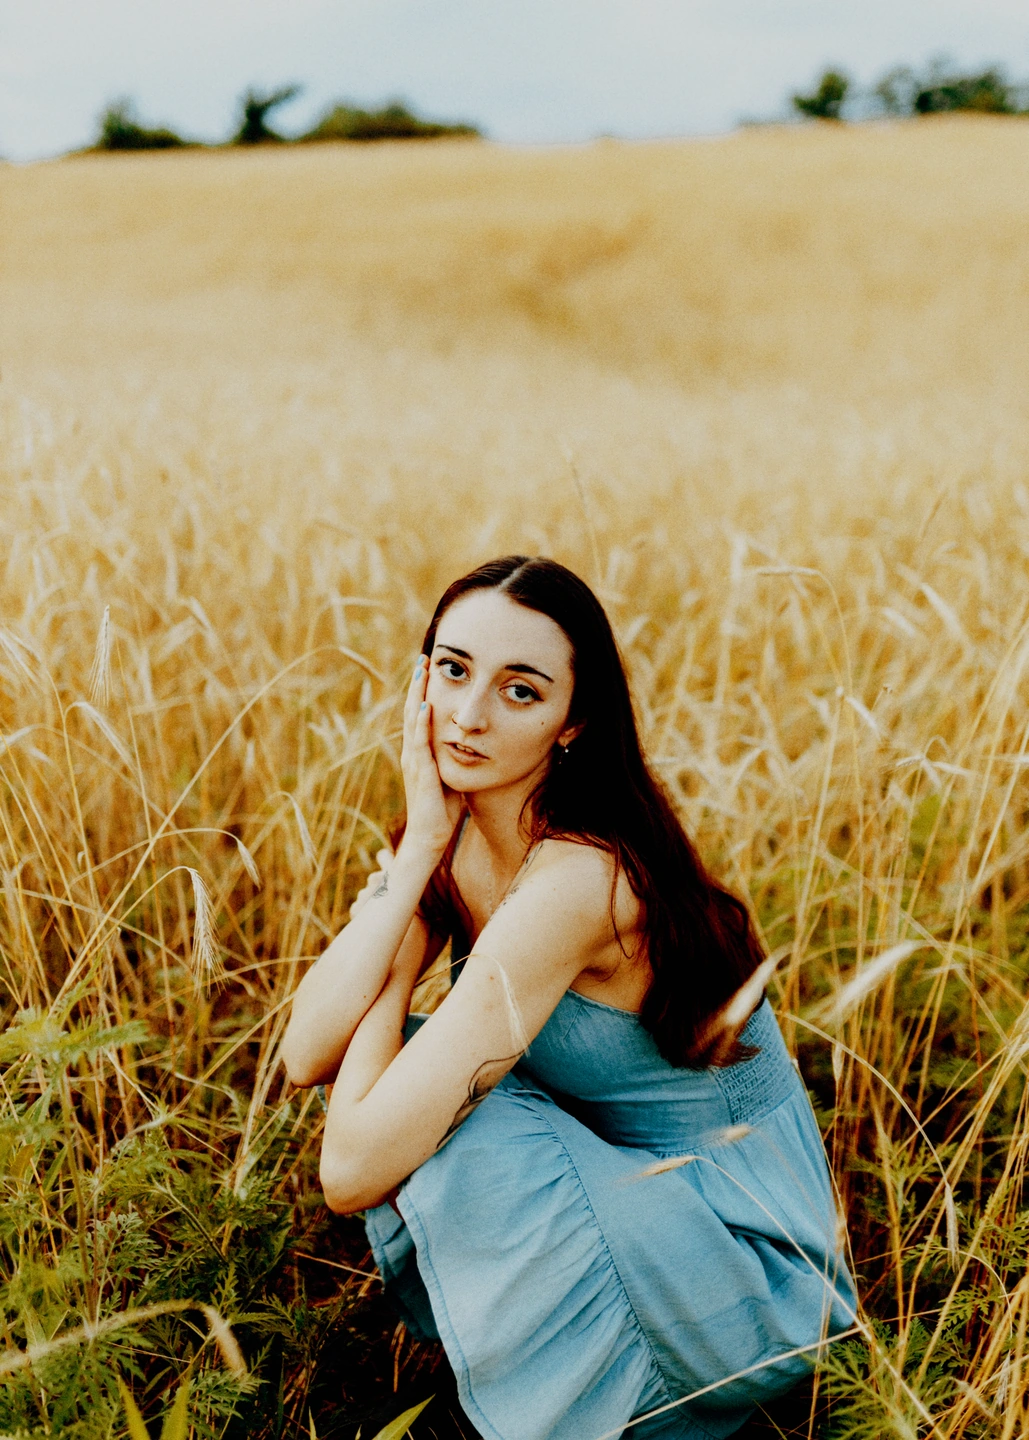
Try Velvia 100 for a slide-film alternative. Watch the relationship between strong colours and bright areas; a more assertive foundation can need fewer finishing effects.
A starting point for your photograph. Let the subject and the light guide the final choice.
Use one film as a starting point across a trip. Sunlit streets and shaded interiors will still differ, but returning to the same foundation helps you make deliberate comparisons. Adjust exposure for each photograph.
Compare films while watching the face first. A pleasing sky is less useful if the skin becomes too heavy or the transition into shadow loses shape. Keep the original close as a reference.
A red boat, blue sea and warm beach are enough to show how much a film changes the conversation between colours. Images with a few clear colour areas make the differences particularly easy to judge.
Open a photograph whose light and colours you know. Compare two or three films before adding grain, leaks or other effects.
Look at skin, sky and the darkest important detail. For a negative film, compare print materials after settling on the foundation.
Adjust exposure, add only the light or texture the photograph needs, and compare the complete result before saving a JPEG.
5 films Free · 15 with Pro Compare Free and Pro.
No. Grain, monochrome, light effects and the other tools can be used without selecting a film. No film is the starting state for a new photograph.
Yes. A free account lets you save personal presets. The next photo may need a different exposure, and any Pro settings in a preset still require Pro access.
Photography: Megan Ruth on Pexels. Edited in Photonica.
Bring a photograph and see where it takes you. Your photo stays on your device.
Open editorUse a WebGPU-compatible browser. Free JPEG export uses a working image up to 2560 px on its longest side before cropping.
Explore all photo editing tools