
Vignette. Guide the eye.
Let the edges fall a little quieter. A movable vignette helps the eye settle where the picture matters most.
Open editorFree
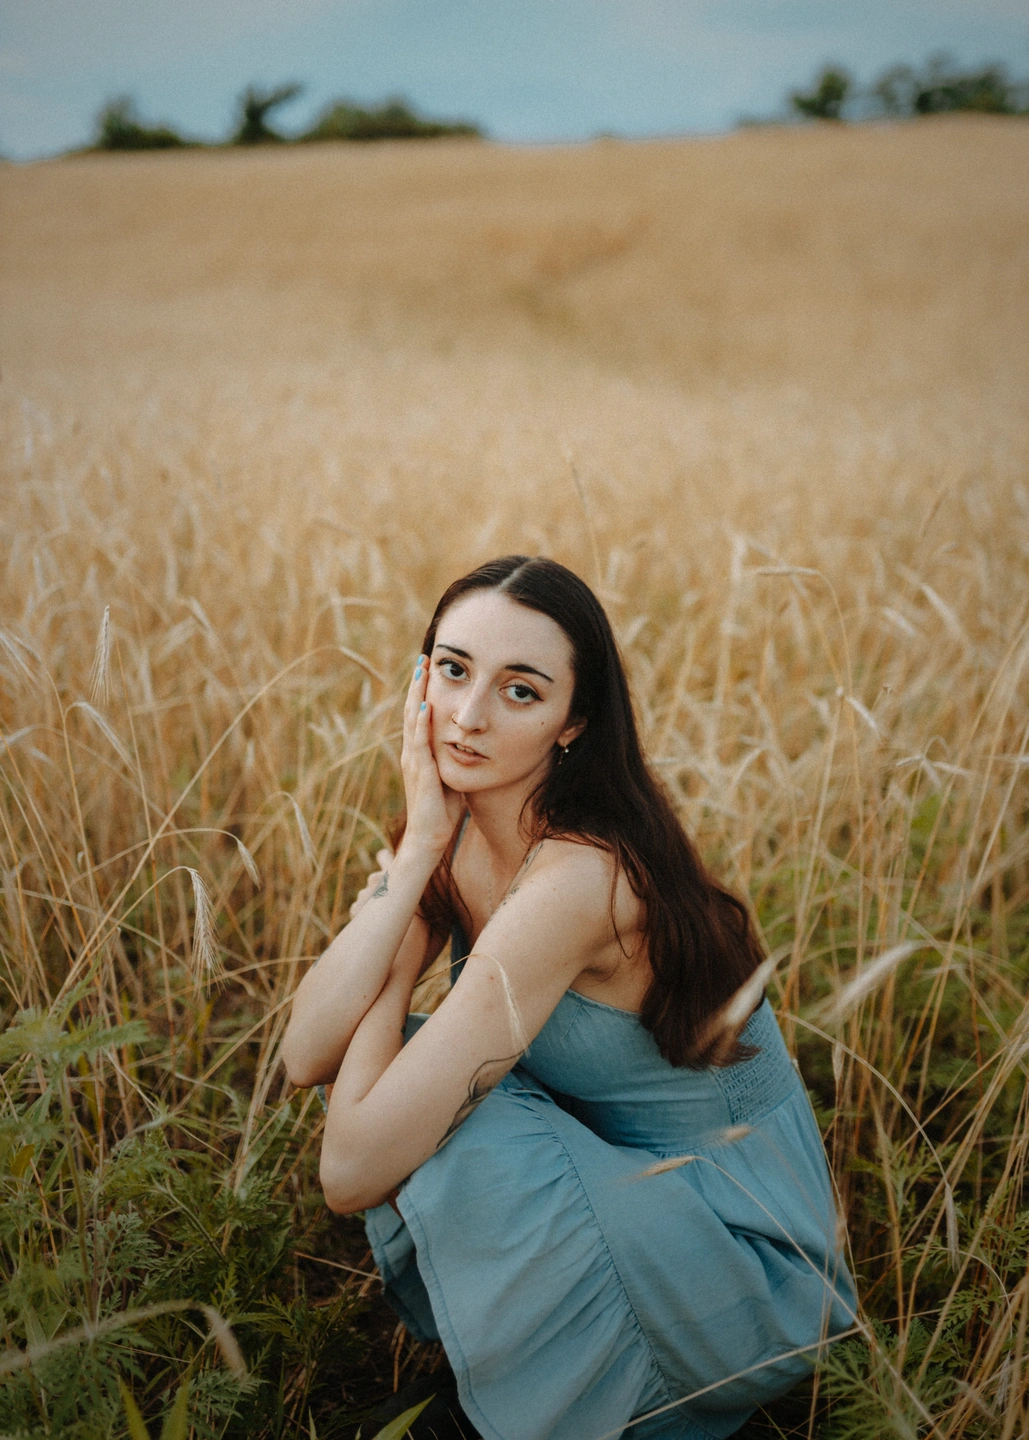
A gentle change at the edge can change the centre.
The brightest part of a photograph often attracts the eye, even when it sits far from the subject. A pale corner, an open sky or a bright wall can pull attention out of the composition. A vignette darkens the outer areas so the centre of interest has a little less competition.
Photonica lets you move the vignette centre horizontally and vertically. This matters because the subject does not always belong in the middle of the frame. A face near one side or a small still life low in the composition may benefit from a centre that follows the picture rather than the canvas.
A useful vignette is often easier to feel than to notice. Begin with enough to see the direction, then lower it until the image feels more focused without obvious dark corners. It is a finishing adjustment, and the best amount depends on both the original light and the final crop.
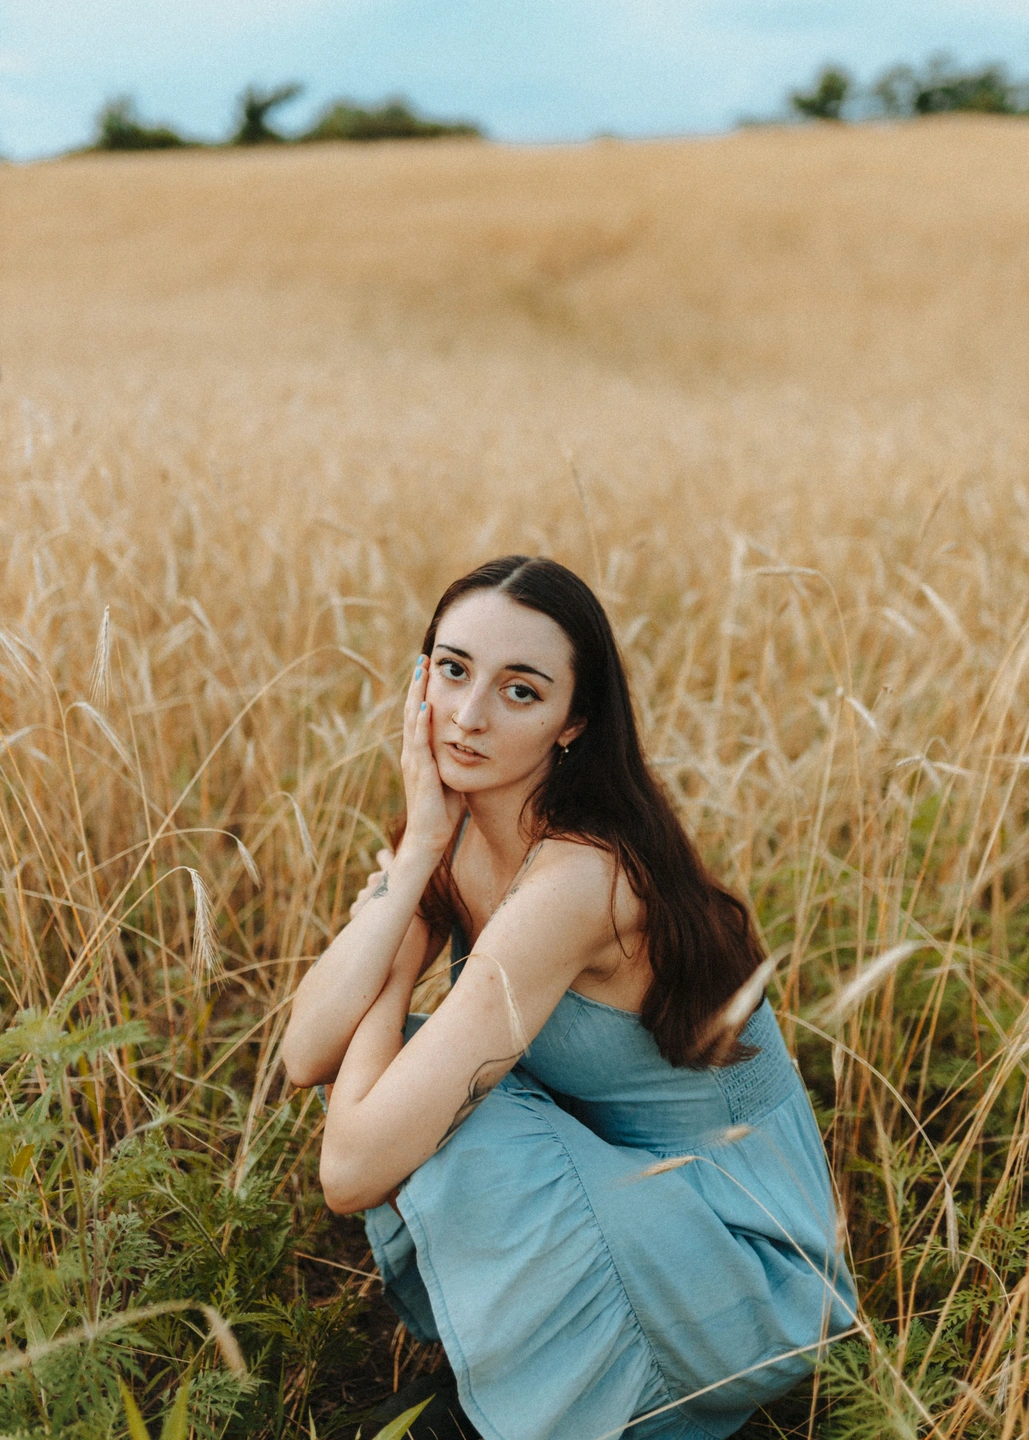
Vignette off / vignette with a deliberately placed centre.
Follow the subject, not the geometric middle.
The field portrait has a clear subject surrounded by lighter space. Compare the outer areas and the way your eye returns to the figure. The treatment changes the balance of brightness; it does not detect or mask the person.
Move the divider to compare. Before on the left, after on the right. Zoom in to look closer.
Made with Photonica. Source photographs retain their photographer’s original treatment. Film and optical effects are creative interpretations.
When to use vignette.
A starting point for your photograph. Let the subject and the light guide the final choice.
An off-centre portrait
Place the centre near the visual focus and use a restrained amount. Check the face and shoulders together so the darkening does not unintentionally cut across an important part of the pose.
A bright corner that competes
A mild vignette can reduce the pull of a distracting outer area. Compare it with a crop as well: sometimes changing the frame solves the composition more clearly than darkening it.
A still life with a quiet centre
Give a small object more presence by reducing the weight of its surroundings. Keep enough environmental detail to preserve the space and light that make the still life interesting.
Find your balance.
- Amount
- Set the strength of the edge darkening. Start modestly and watch pale surfaces near the corners, where the effect is often easiest to see.
- Horizontal centre
- Move the centre left or right to suit the subject’s placement. The visual focus may sit between several objects rather than exactly on one of them.
- Vertical centre
- Move the centre up or down. Revisit it after a crop or rotation changes the balance of the composition.
How to use vignette in Photonica.
Finish the composition first
Choose the crop and straighten the photograph before refining the vignette. Know which parts of the frame deserve the most attention.
Place the centre deliberately
Move it towards the area you want to keep open and readable. Do not assume the subject has been selected automatically.
Back off from the obvious effect
Compare the original and treated image at Fit. Reduce the amount if the corners become a visible border instead of a quiet change in emphasis.
Free Compare Free and Pro.
A few things to know.
Does a vignette blur the background?
No. This tool darkens the outer areas. It does not change depth of field or create portrait-background blur.
Can I use it without a film look?
Yes. Vignette is a free tool and works with No film selected. It can be the only finishing adjustment you add.
Is the centre tied to a detected face?
No. You place the centre yourself with horizontal and vertical controls. That gives you control over portraits, objects and compositions with several points of interest.
Photography: Megan Ruth on Pexels. Edited in Photonica.
Make it your photograph.
Bring a photograph and see where it takes you. Your photo stays on your device.
Open editorUse a WebGPU-compatible browser. Free JPEG export uses a working image up to 2560 px on its longest side before cropping.
Explore all photo editing tools