
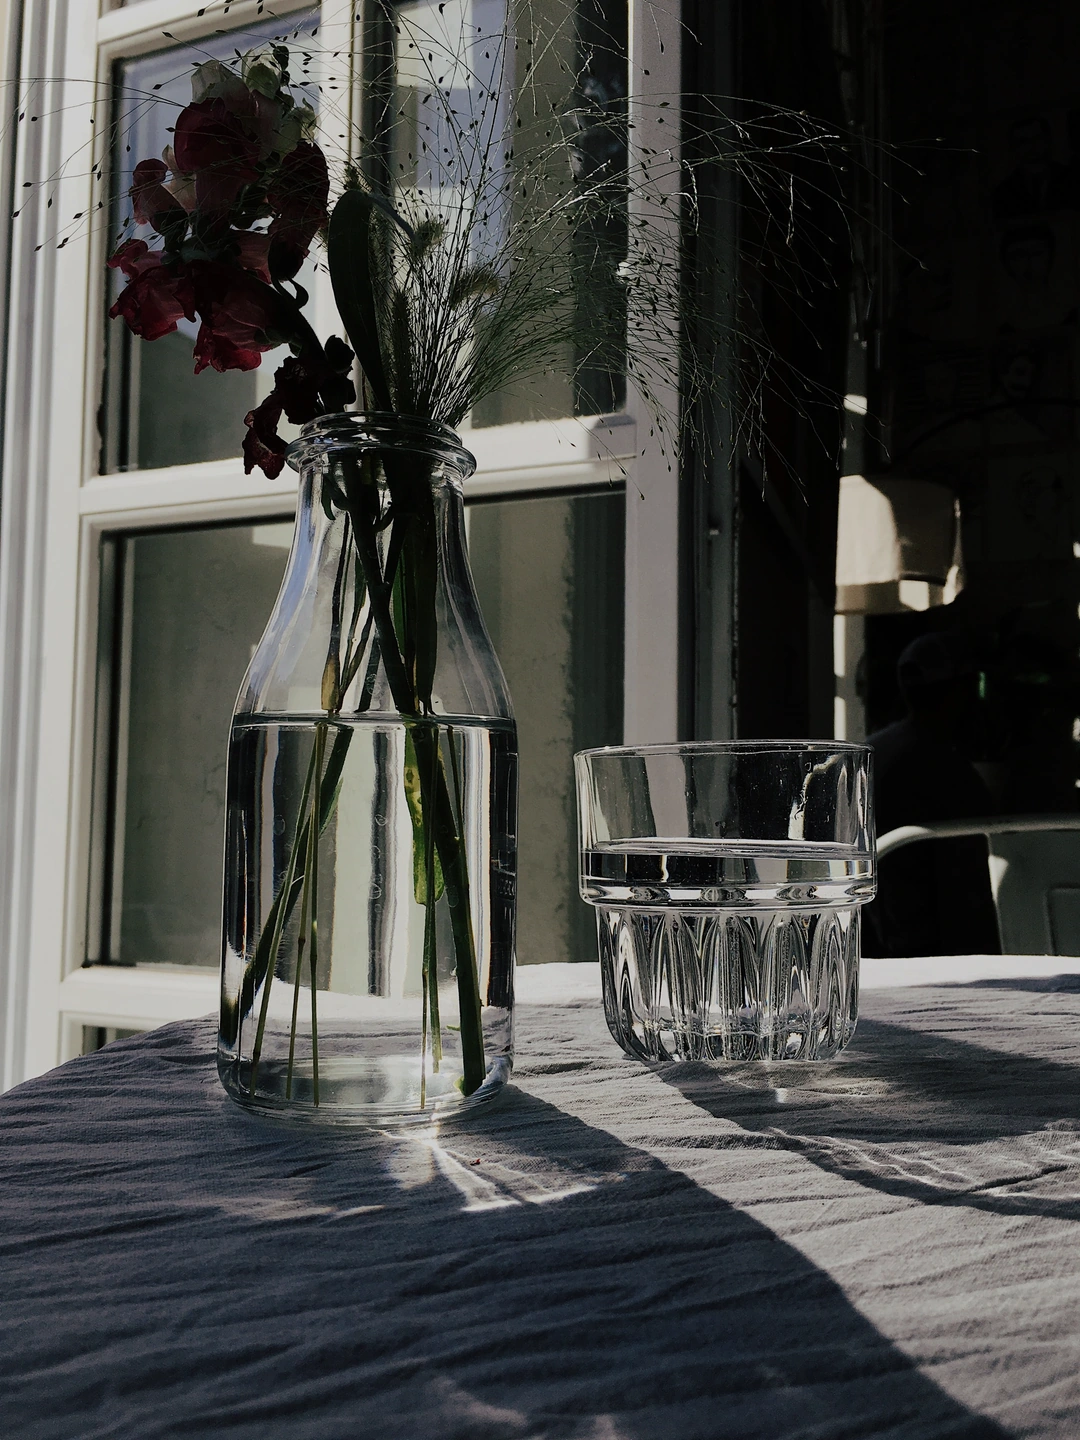
Let the shadows hold more of the room.
A lower exposure gives the same scene a denser impression. Compare the shaded cloth with the bright glass to decide which balance supports the still life.
Move towards an airy photograph or a denser print. Exposure is a small adjustment with a large influence on the mood.
Open editorFree
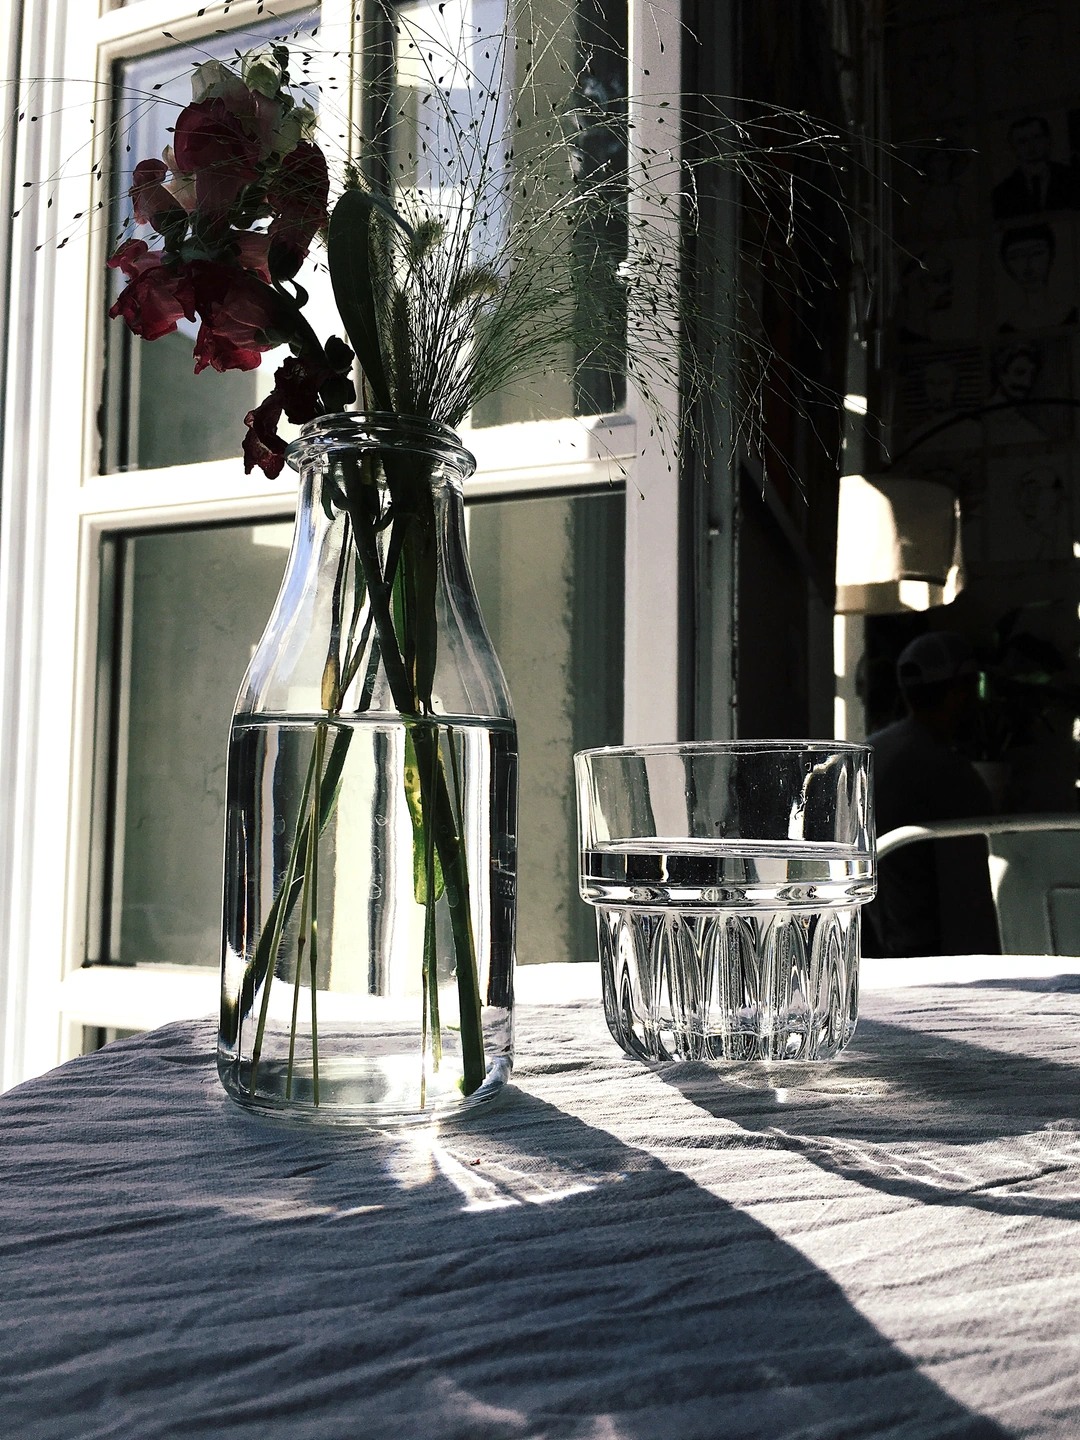
A photograph does not have to be equally bright everywhere. A darker room can make a window feel luminous; a bright print can make an ordinary afternoon feel open and unhurried. Exposure lets you decide where the overall brightness should sit while keeping that relationship in mind.
In Photonica, exposure is available with or without a film selected. It is especially useful when comparing film foundations: changing the colour and contrast can change how bright the image feels. Revisit exposure after choosing a film instead of rejecting an otherwise promising treatment because its first appearance is a little too dense.
Make the decision around the subject. A face, a painted wall or a glass on a table gives your eye a useful reference. If you look only at the brightest patch, you may darken the rest of the image unnecessarily. If you look only at a deep shadow, you may sacrifice the feeling of light.
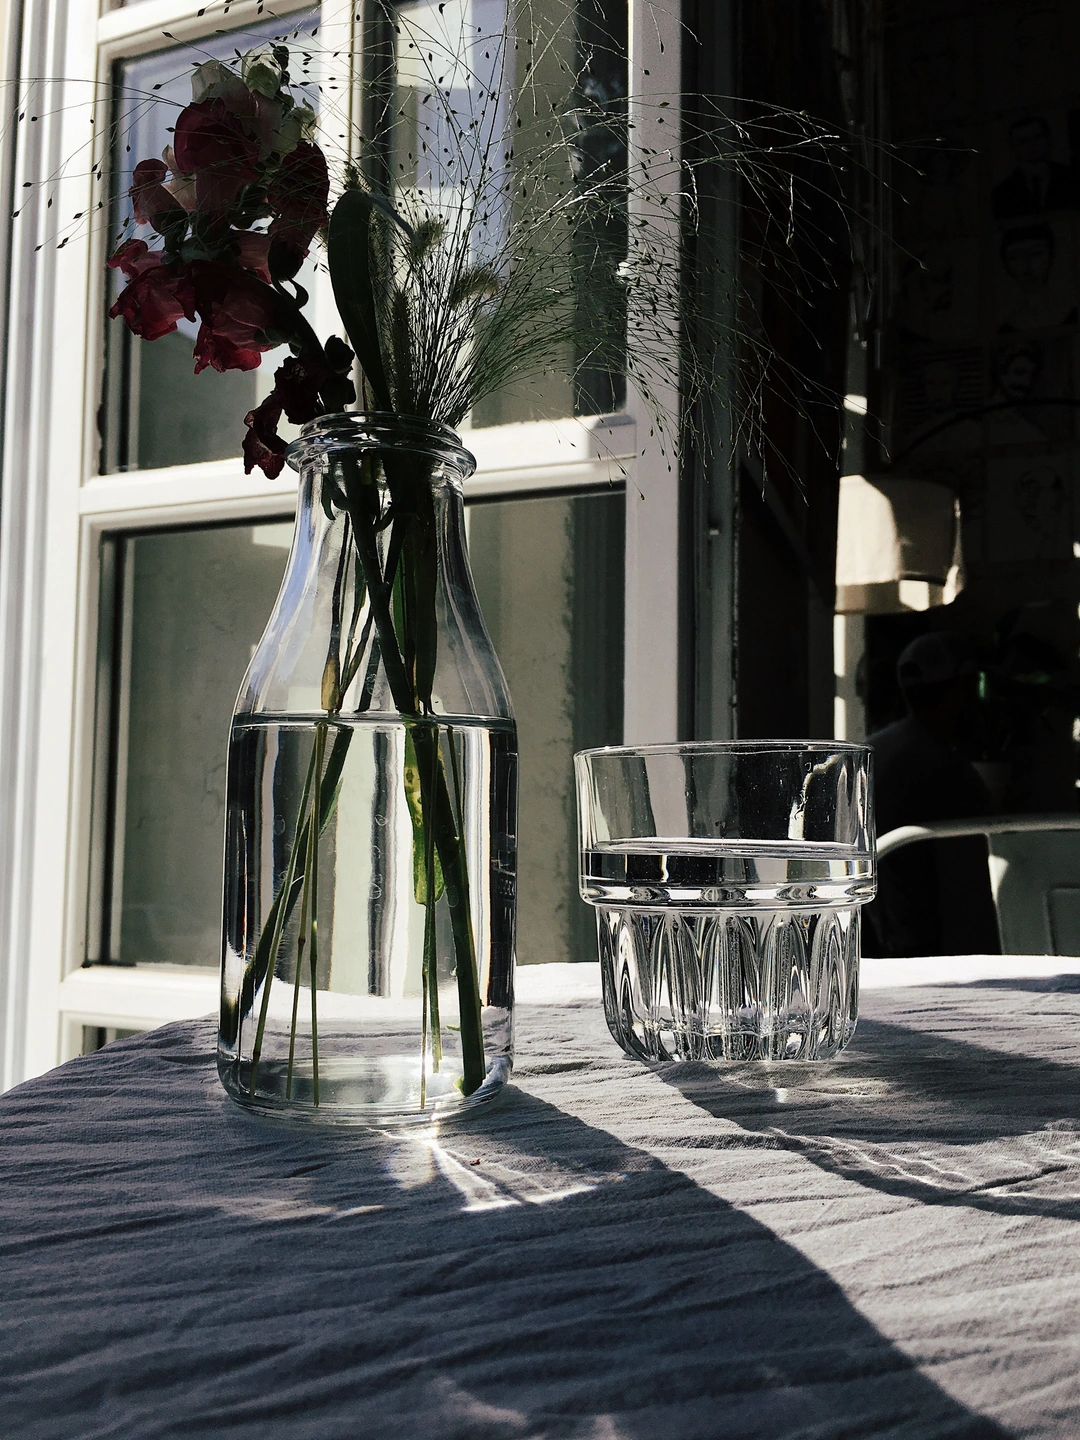
Before Photonica / exposure +0.6 EV. No film or other added effects.
Watch the cloth and the rim of the glass as you compare. The goal is to make the still life readable while retaining the difference between a luminous surface and a shaded one. An exposure change should support the direction of the existing light.
Move the divider to compare. Before on the left, after on the right. Zoom in to look closer.
Made with Photonica. Source photographs retain their photographer’s original treatment. Film and optical effects are creative interpretations.
A lower exposure gives the same scene a denser impression. Compare the shaded cloth with the bright glass to decide which balance supports the still life.
A starting point for your photograph. Let the subject and the light guide the final choice.
Before changing your chosen film, try a small exposure adjustment. Judge important midtones rather than aiming to make every dark area bright. You may retain the colour you liked with a better overall balance.
Lift the image until the subject feels light and approachable, then inspect pale clothing and sky. Stop before those areas lose the texture that gives the scene its physical character.
Lower exposure when you want shadows to carry more of the atmosphere. Keep enough separation around the subject that a darker treatment still reads clearly on a smaller screen.
Identify the part of the picture that needs to feel right: a face, a white shirt, a wall or the surface of water.
Adjust exposure and pause. Look away briefly, then return to the whole frame; this makes an overcorrection easier to notice.
Inspect the edges of bright objects and the darkest useful details. If the overall brightness is right but those relationships need work, explore Tonal transitions.
Free Compare Free and Pro.
No. Exposure works as a direct creative adjustment. You can use it with No film, or revisit it after choosing a film and print material.
No. Exposure sets the overall brightness direction. Highlight softness, within Pro Tonal transitions, shapes the transition into bright tones rather than serving as another overall exposure control.
Photography: Valerie de Limoges on Pexels. Edited in Photonica.
Bring a photograph and see where it takes you. Your photo stays on your device.
Open editorUse a WebGPU-compatible browser. Free JPEG export uses a working image up to 2560 px on its longest side before cropping.
Explore all photo editing tools