
Tonal transitions. Find your balance.
Shape the ends of the tonal range. Give shadows a deliberate depth and let bright surfaces arrive more softly.
Open editorPro
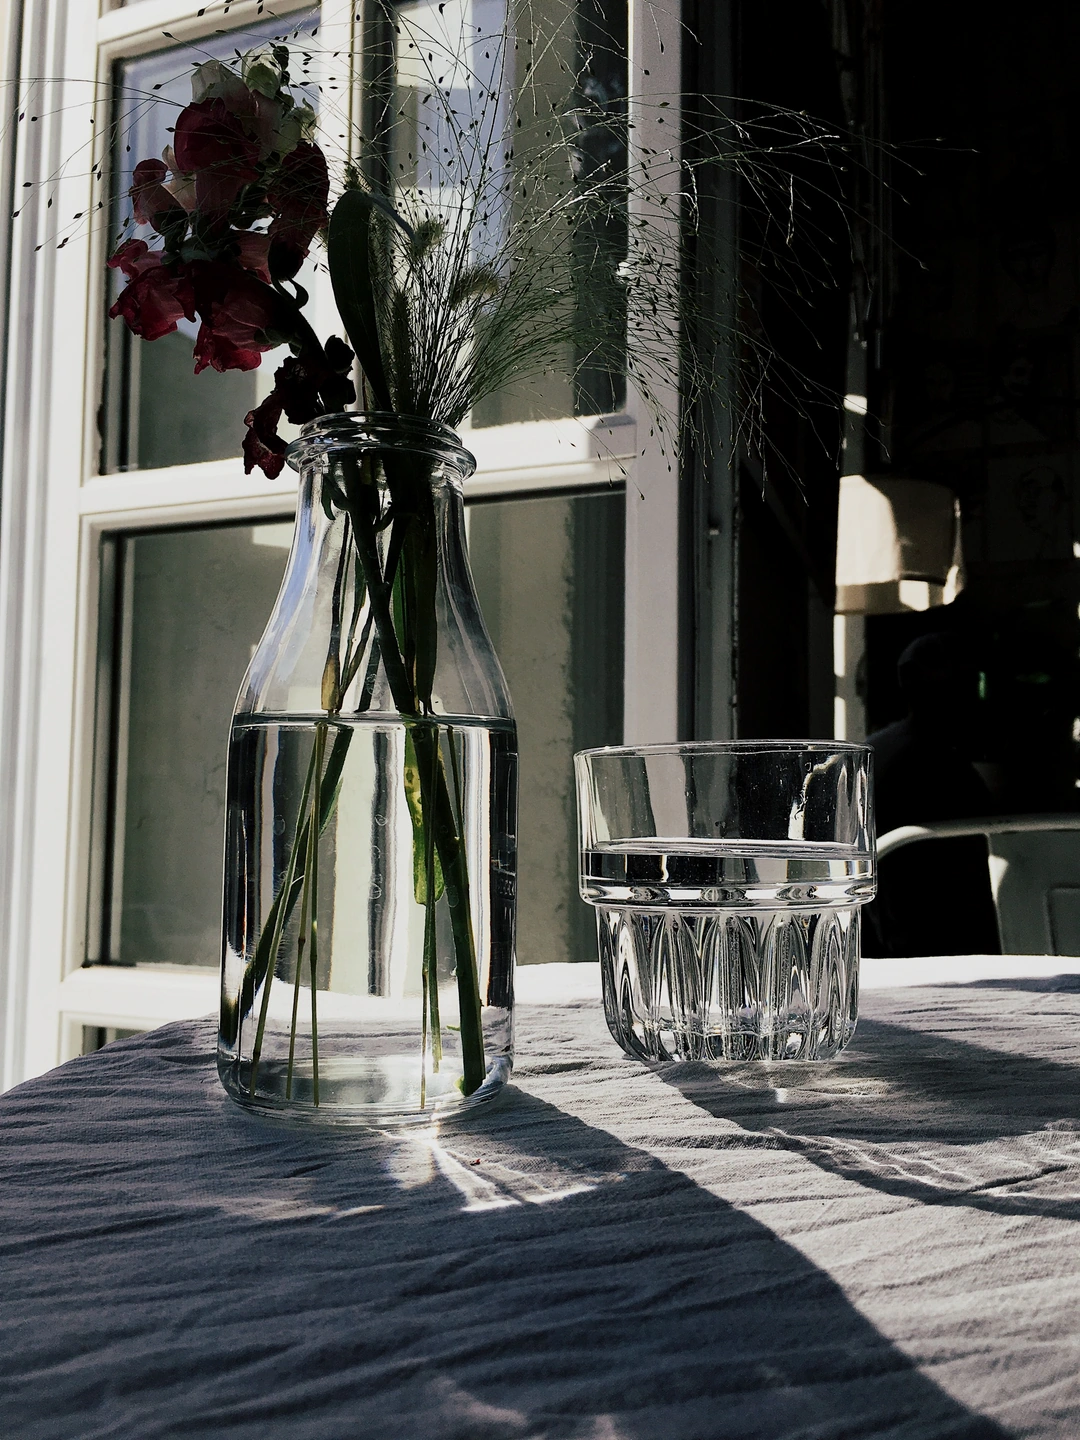
Contrast is also about the journey between tones.
Two photographs can feel equally bright and still have very different characters. One may move gently into white, while another feels abrupt and graphic. One may hold its shadows open, while another settles into a deeper base. Tonal transitions let you refine those relationships after finding a comfortable overall exposure.
Photonica brings four decisions together: black point, white point, highlight softness and shadow depth. They give you direct control over important parts of the tonal rendering without asking you to draw a curve. Use one at a time so you can see which change actually serves the photograph.
Bright fabric, pale walls and backlit skin make useful references for the highlight end. Dark hair, a jacket or the shaded side of a room help you judge the shadows. The aim is to keep the subject legible while choosing whether the finished image should feel gentle, dense or more graphic.
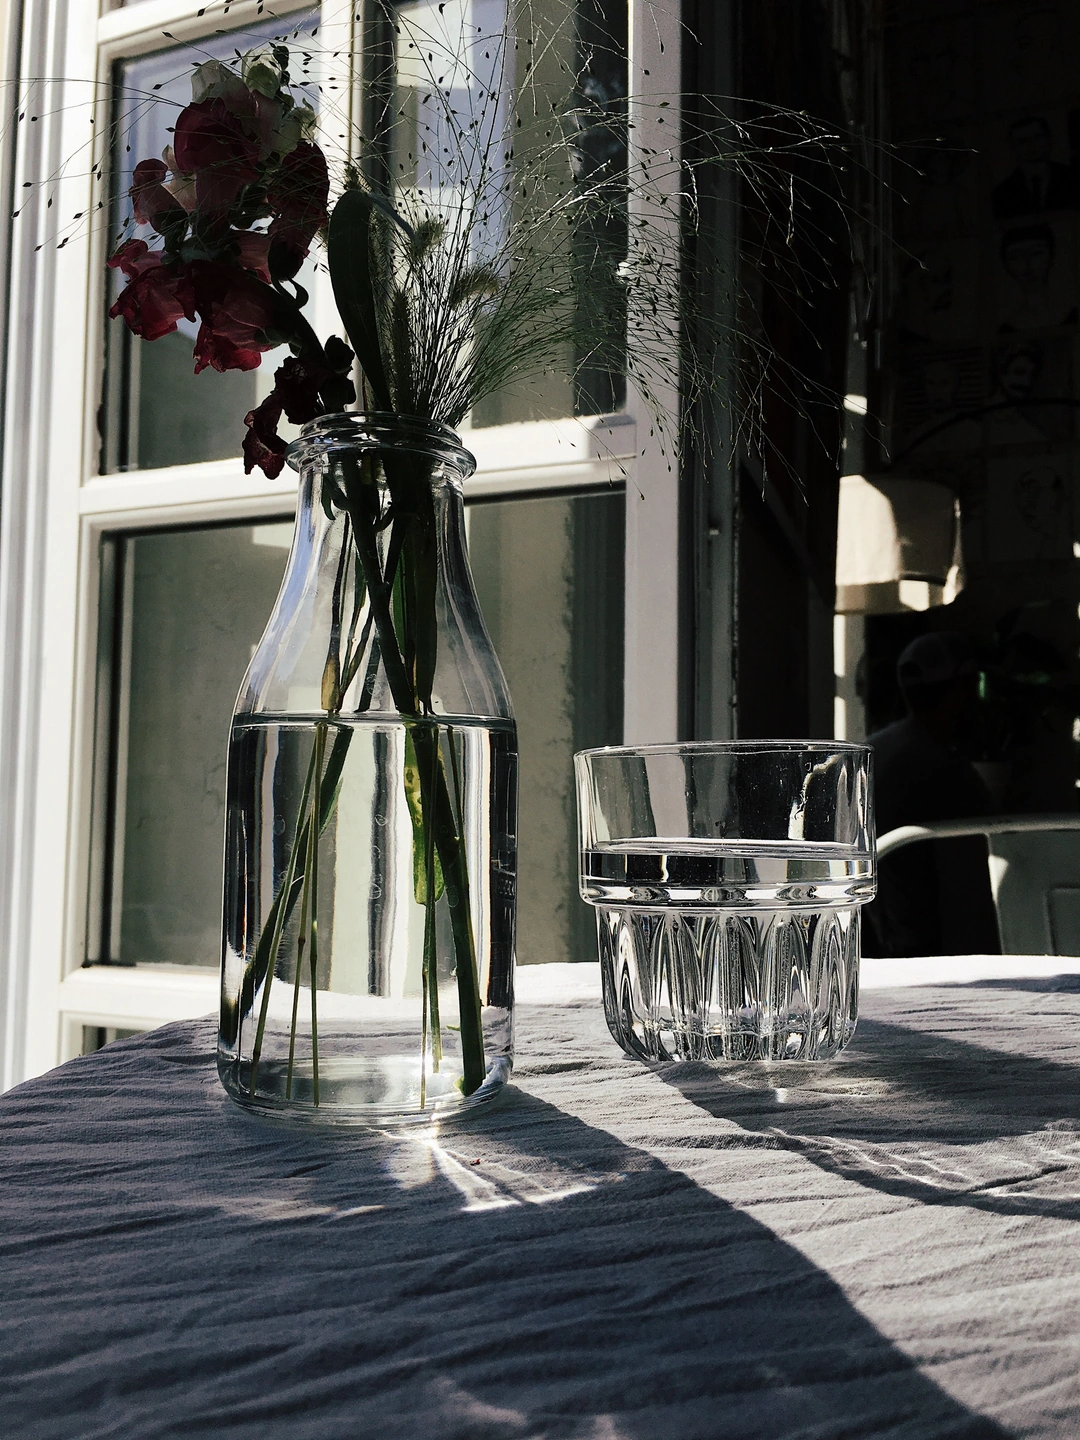
The same still life before and after a tonal-transition treatment.
Keep the light. Refine its edges.
The glass still needs to feel transparent, and the white cloth still needs to hold shape. Compare how bright areas meet midtones and how the shaded parts anchor the composition. A tonal treatment succeeds when those relationships become more deliberate.
Move the divider to compare. Before on the left, after on the right. Zoom in to look closer.
Made with Photonica. Source photographs retain their photographer’s original treatment. Film and optical effects are creative interpretations.
When to use tonal transitions.
A starting point for your photograph. Let the subject and the light guide the final choice.
White clothing and sunlit interiors
Explore highlight softness when bright surfaces feel too abrupt. Judge folds, edges and surface texture; the purpose is a gentler transition, not to turn every white area grey.
Portraits that need a firmer foundation
Refine shadow depth while watching dark hair and the shaded side of the face. A deeper base can add presence, but excessive darkness can make important features merge.
Black-and-white photographs
Without colour, the distance between greys carries more of the image. Set the tonal endpoints with care and leave room for useful midtones rather than making every conversion aggressively contrasty.
Find your balance.
- Black point
- Shape the dark endpoint of the rendering. Compare the deepest meaningful area with nearby shadow detail so the base feels intentional.
- White point
- Shape the bright endpoint. Watch white objects and highlights together; they do not all need to land at the same brightness.
- Highlight softness
- Refine the transition into bright tones. This is a tonal decision, distinct from diffusion, which scatters the appearance of light across surrounding areas.
- Shadow depth
- Give dark tones a different sense of depth. Check that the subject remains separated from its background after the change.
How to use tonal transitions in Photonica.
Set exposure first
Place the subject at a useful overall brightness. Tonal adjustments are easier to judge when you are not simultaneously trying to rescue an exposure decision.
Choose the part that needs attention
Start with the highlight transition or the shadows. Make one change, compare, and only then consider the endpoints.
Inspect the important surfaces
Look closely at cloth, skin and dark textured objects, then return to Fit. Both local detail and the whole-frame mood should support the result.
Pro Compare Free and Pro.
A few things to know.
Is this a curves editor?
No. Photonica exposes four focused controls for tonal endpoints and transitions. It does not provide a point-by-point curve interface.
How is this different from diffusion?
Tonal transitions shape brightness relationships. Diffusion adds a scattered-light character around highlights and can soften the overall impression. Try each separately before combining them.
Photography: Valerie de Limoges on Pexels. Edited in Photonica.
Make it your photograph.
Bring a photograph and see where it takes you. Your photo stays on your device.
Open editorUse a WebGPU-compatible browser. Free JPEG export uses a working image up to 2560 px on its longest side before cropping.
Explore all photo editing tools